Tronxy P802M Extrusion Fan Replacement

Psst! Looking for more? Check out the Tronxy P802M page with links to other articles about modifying and improving the Tronxy P802M 3D printer.

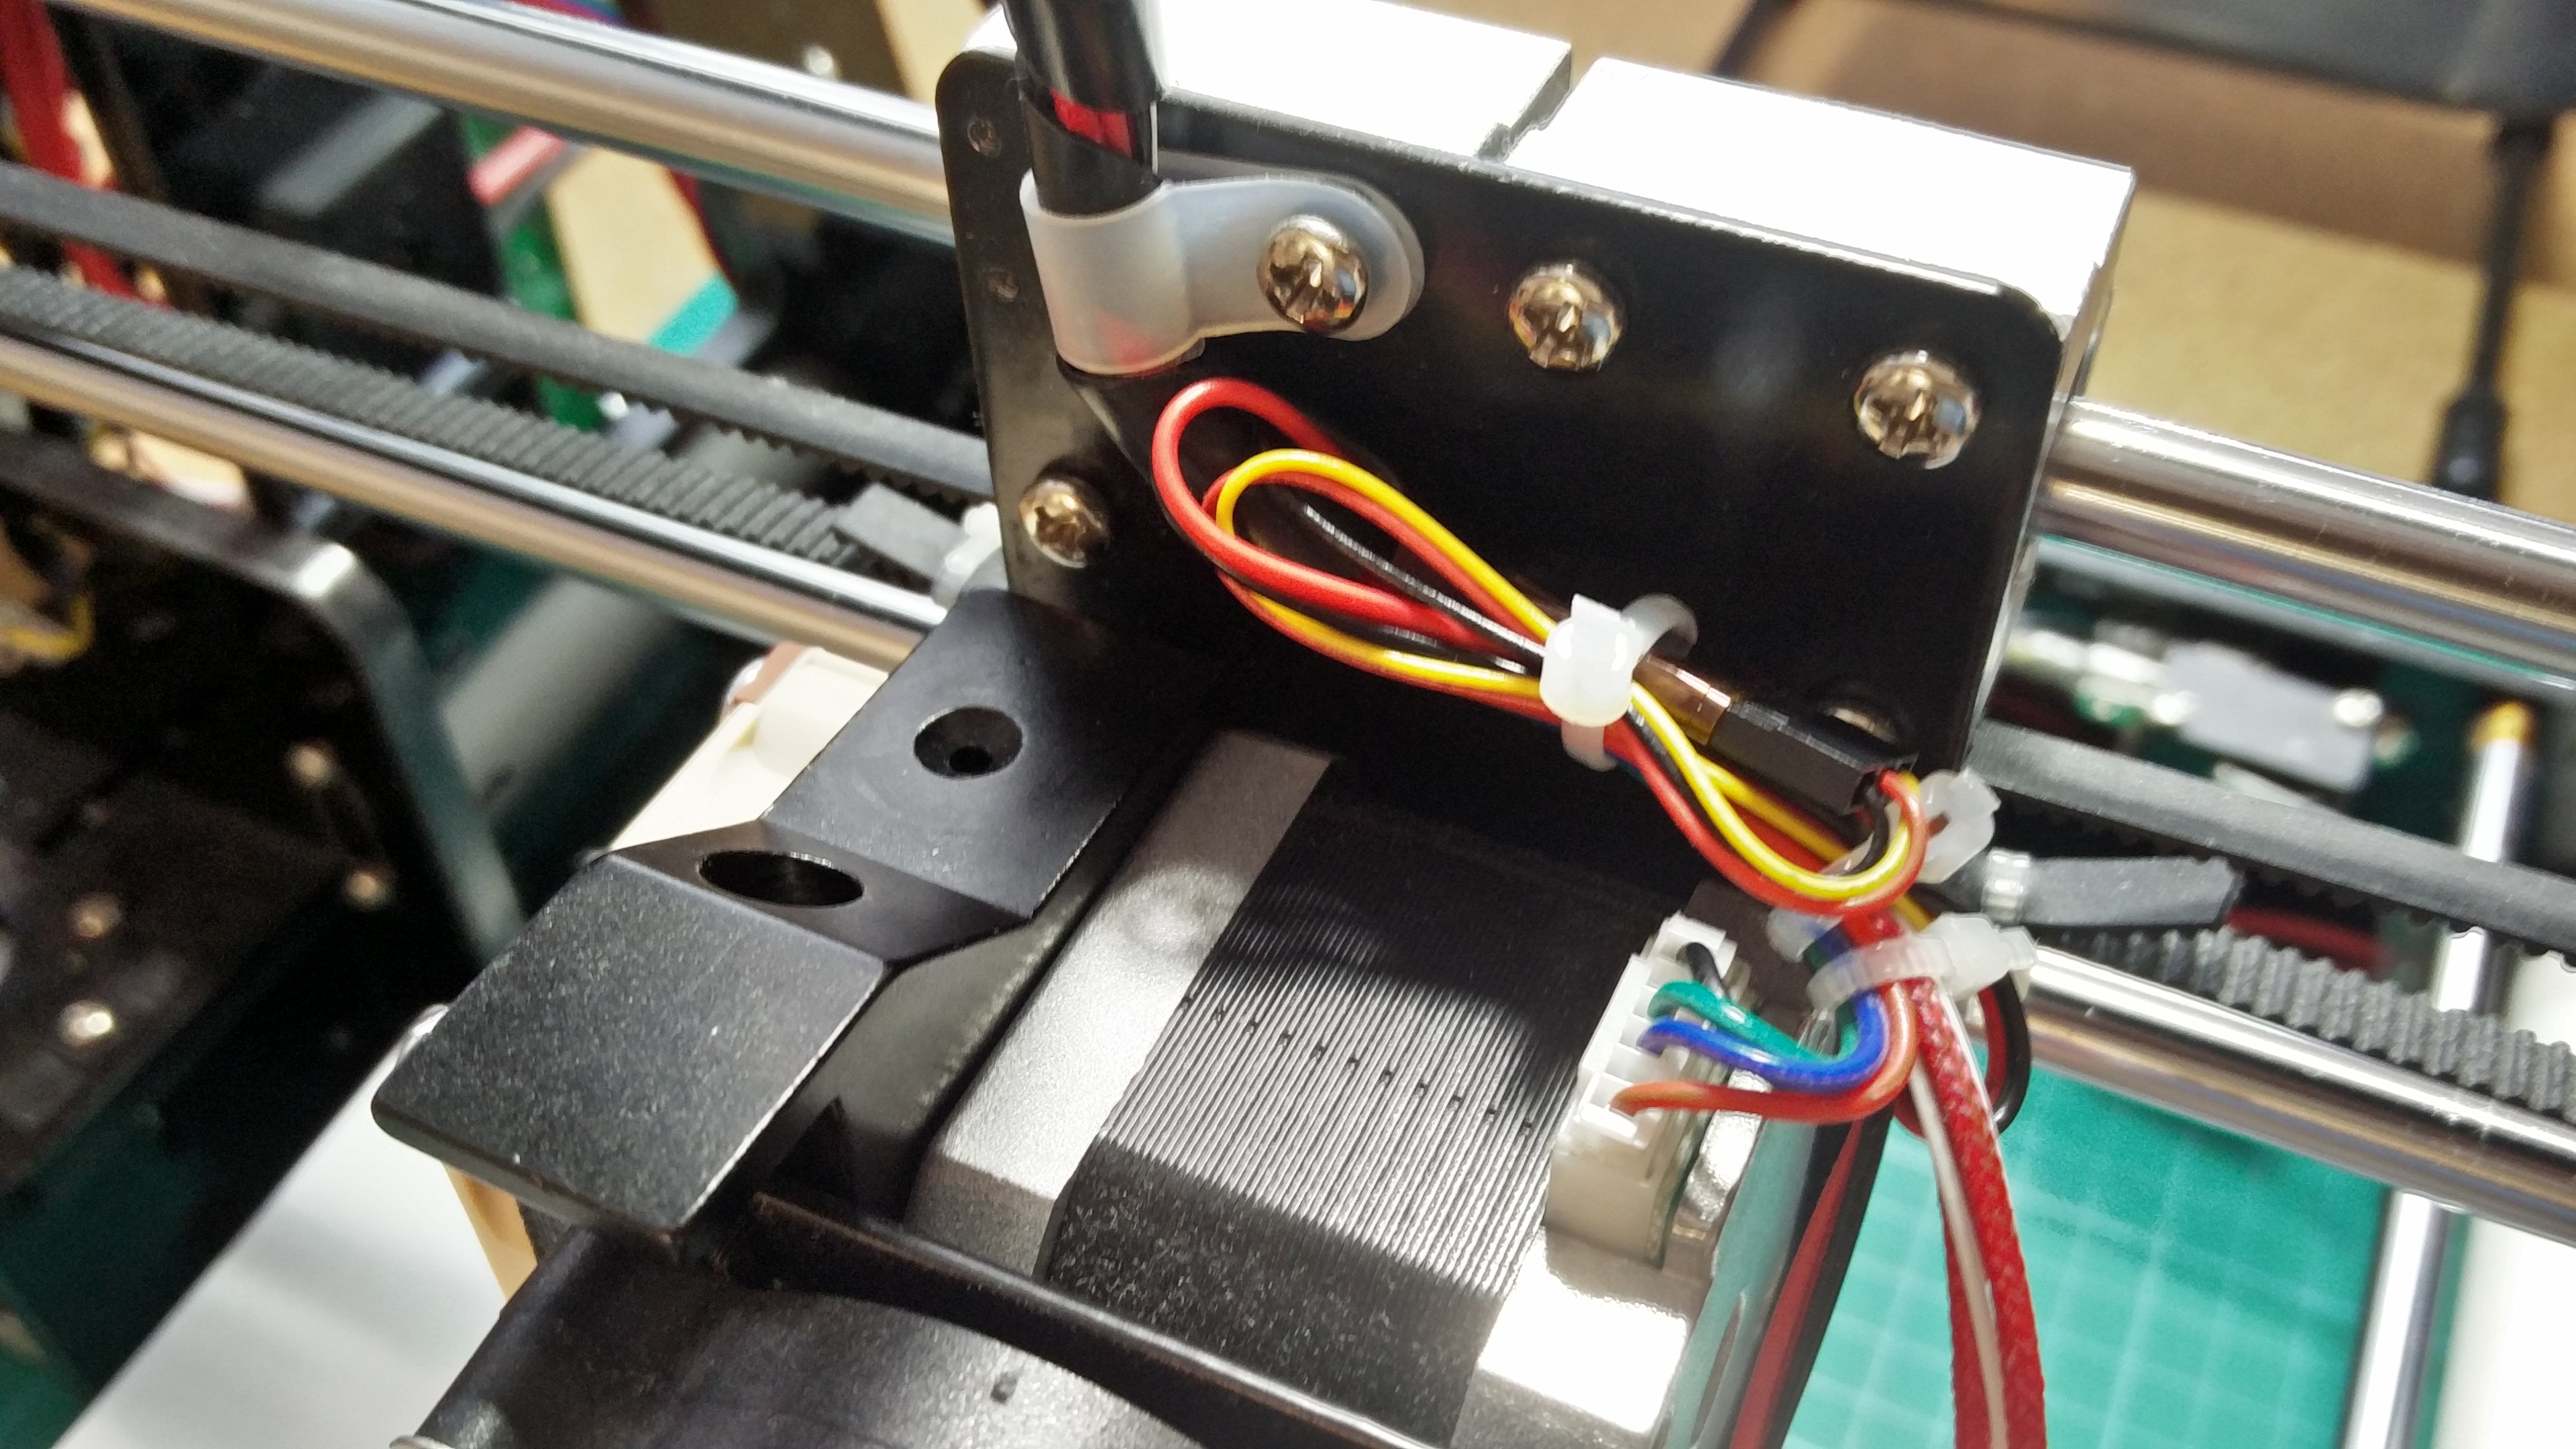
I did something silly. The PLA filament installed in my 3D printer broke off flush with the top of the extruder requiring me to remove the cooling fan to pull the filament out.

Filament broken in extruder
The filament breaks off flush with the extruder sometimes.

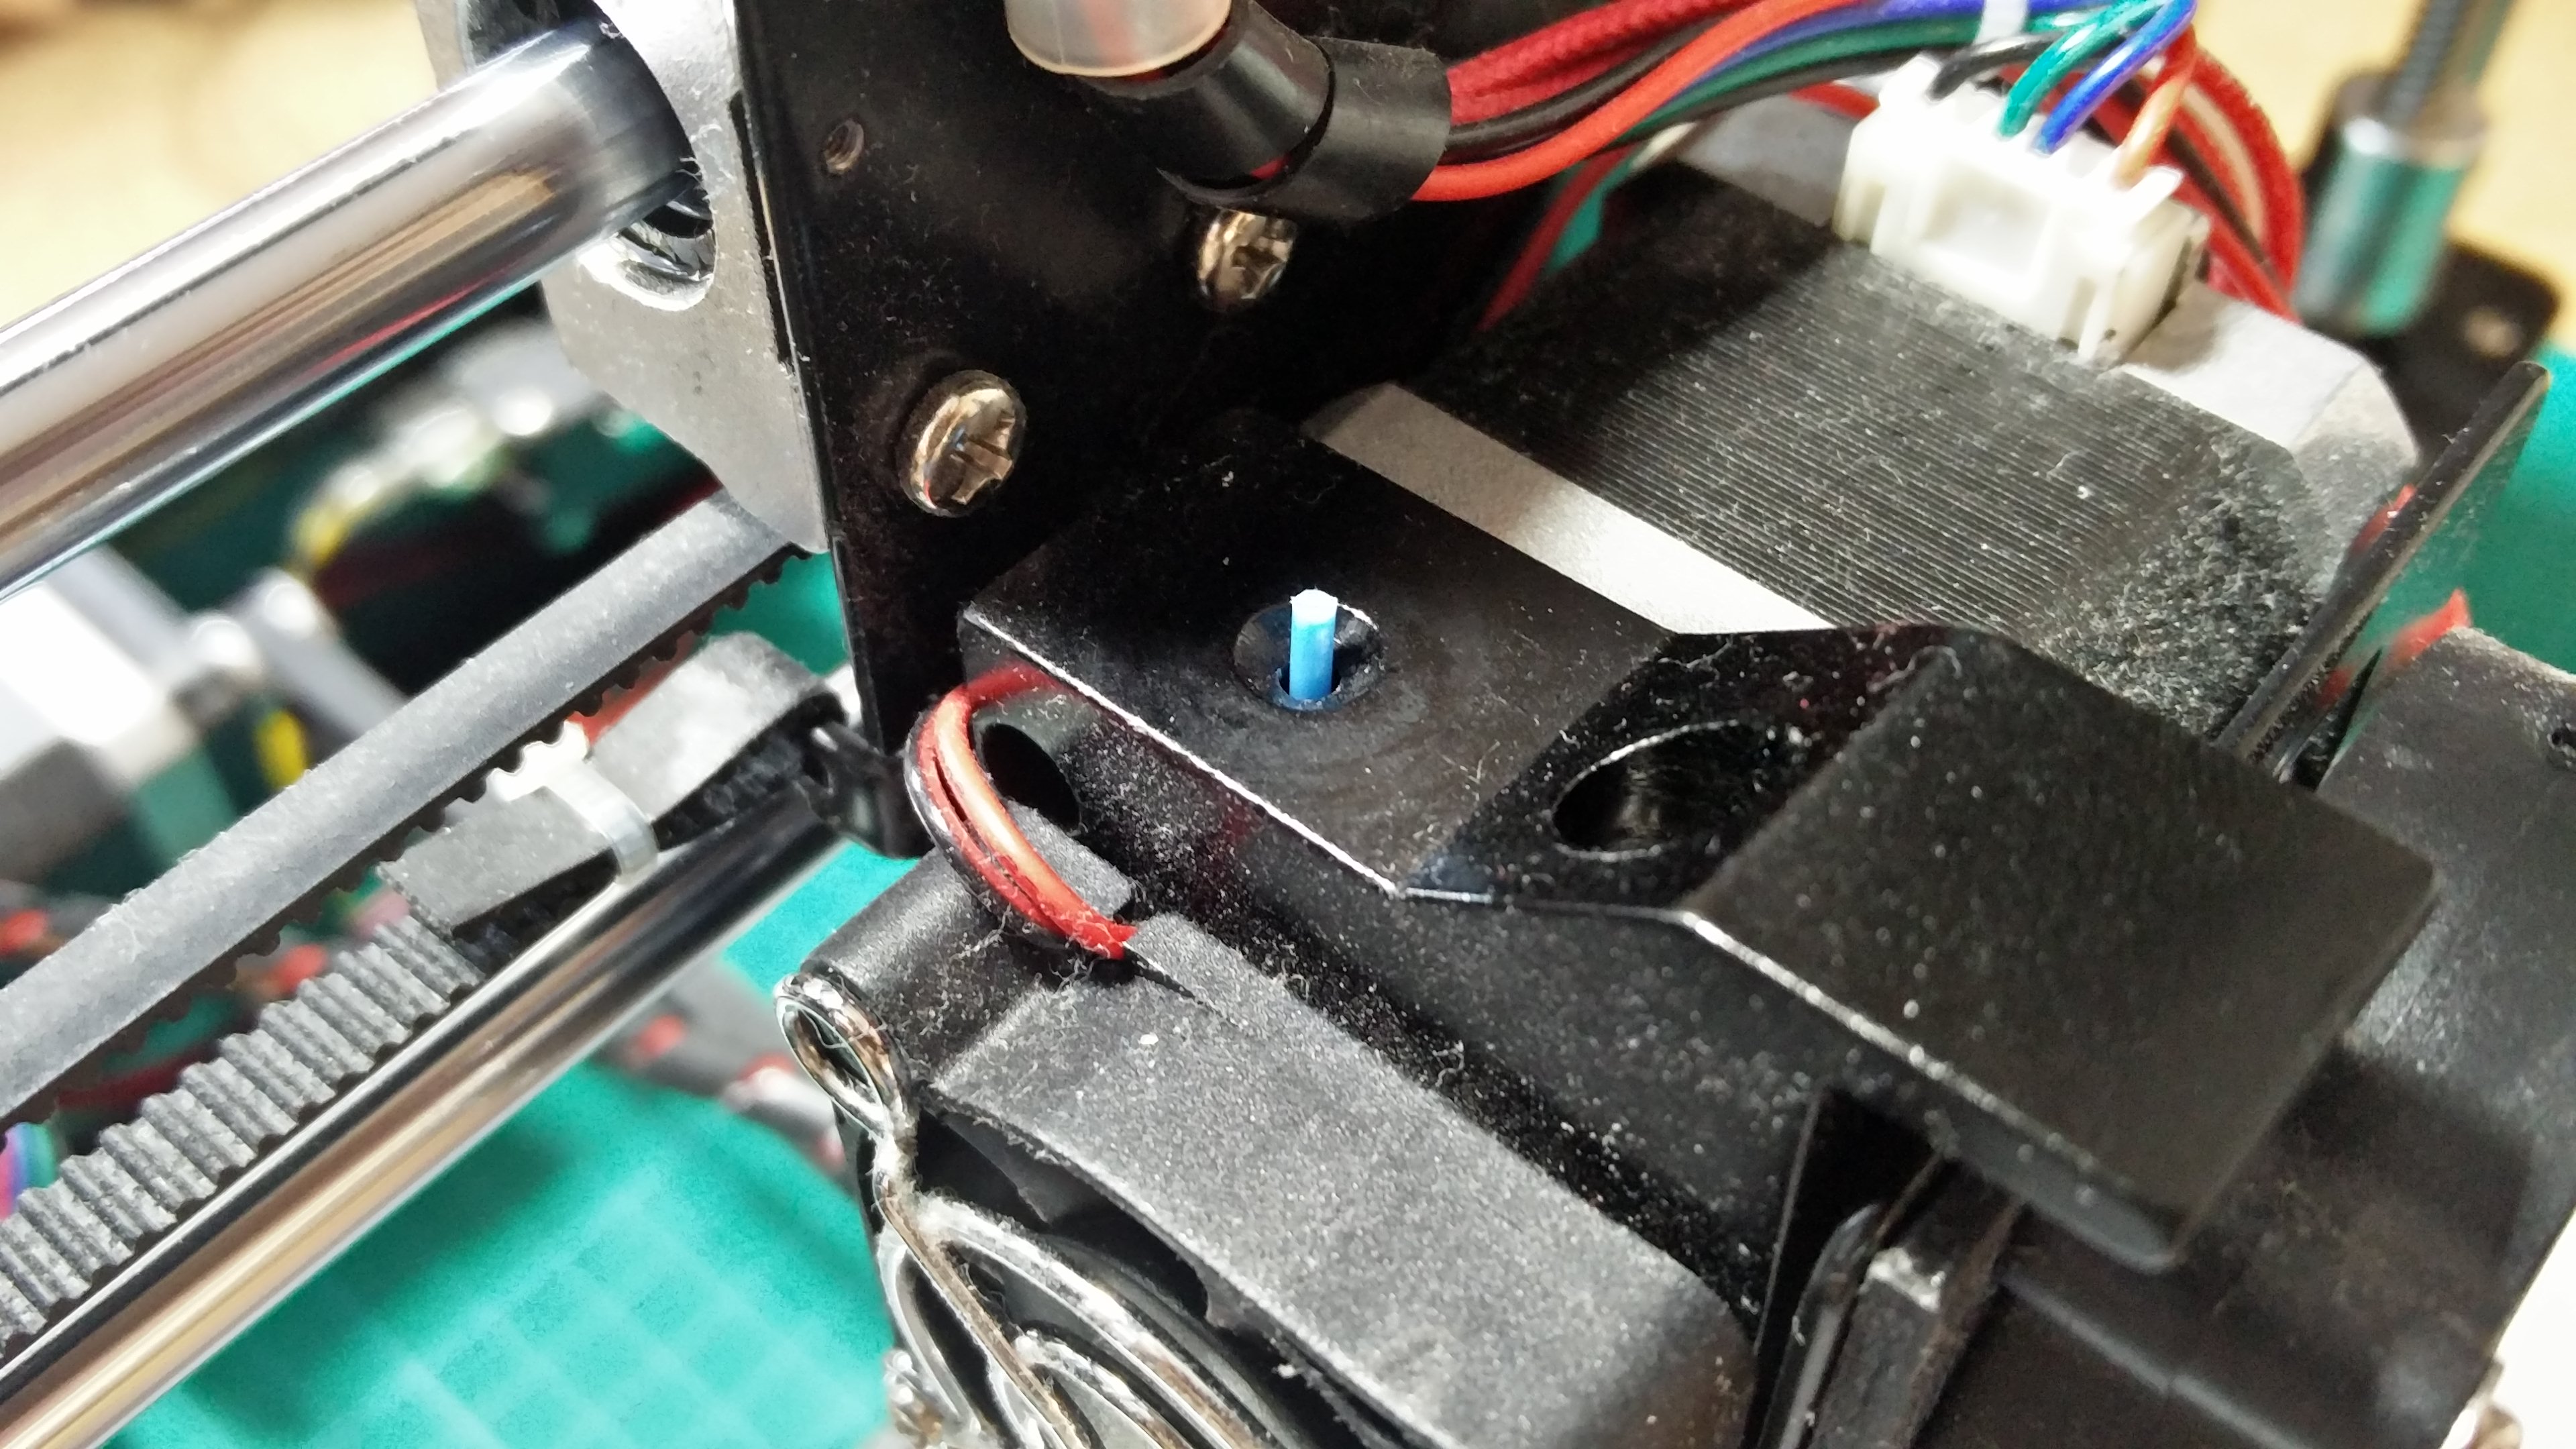
That is not the silly part, the silly part was doing this while the extruder cooling fan was running. I slipped and sent a screwdriver through the fan breaking off one of the fan blades. This quick article is about replacing the extruder cooling fan with a Noctua NF-A4x10 FLX 40x10mm fan.

Dramatic Reenactment

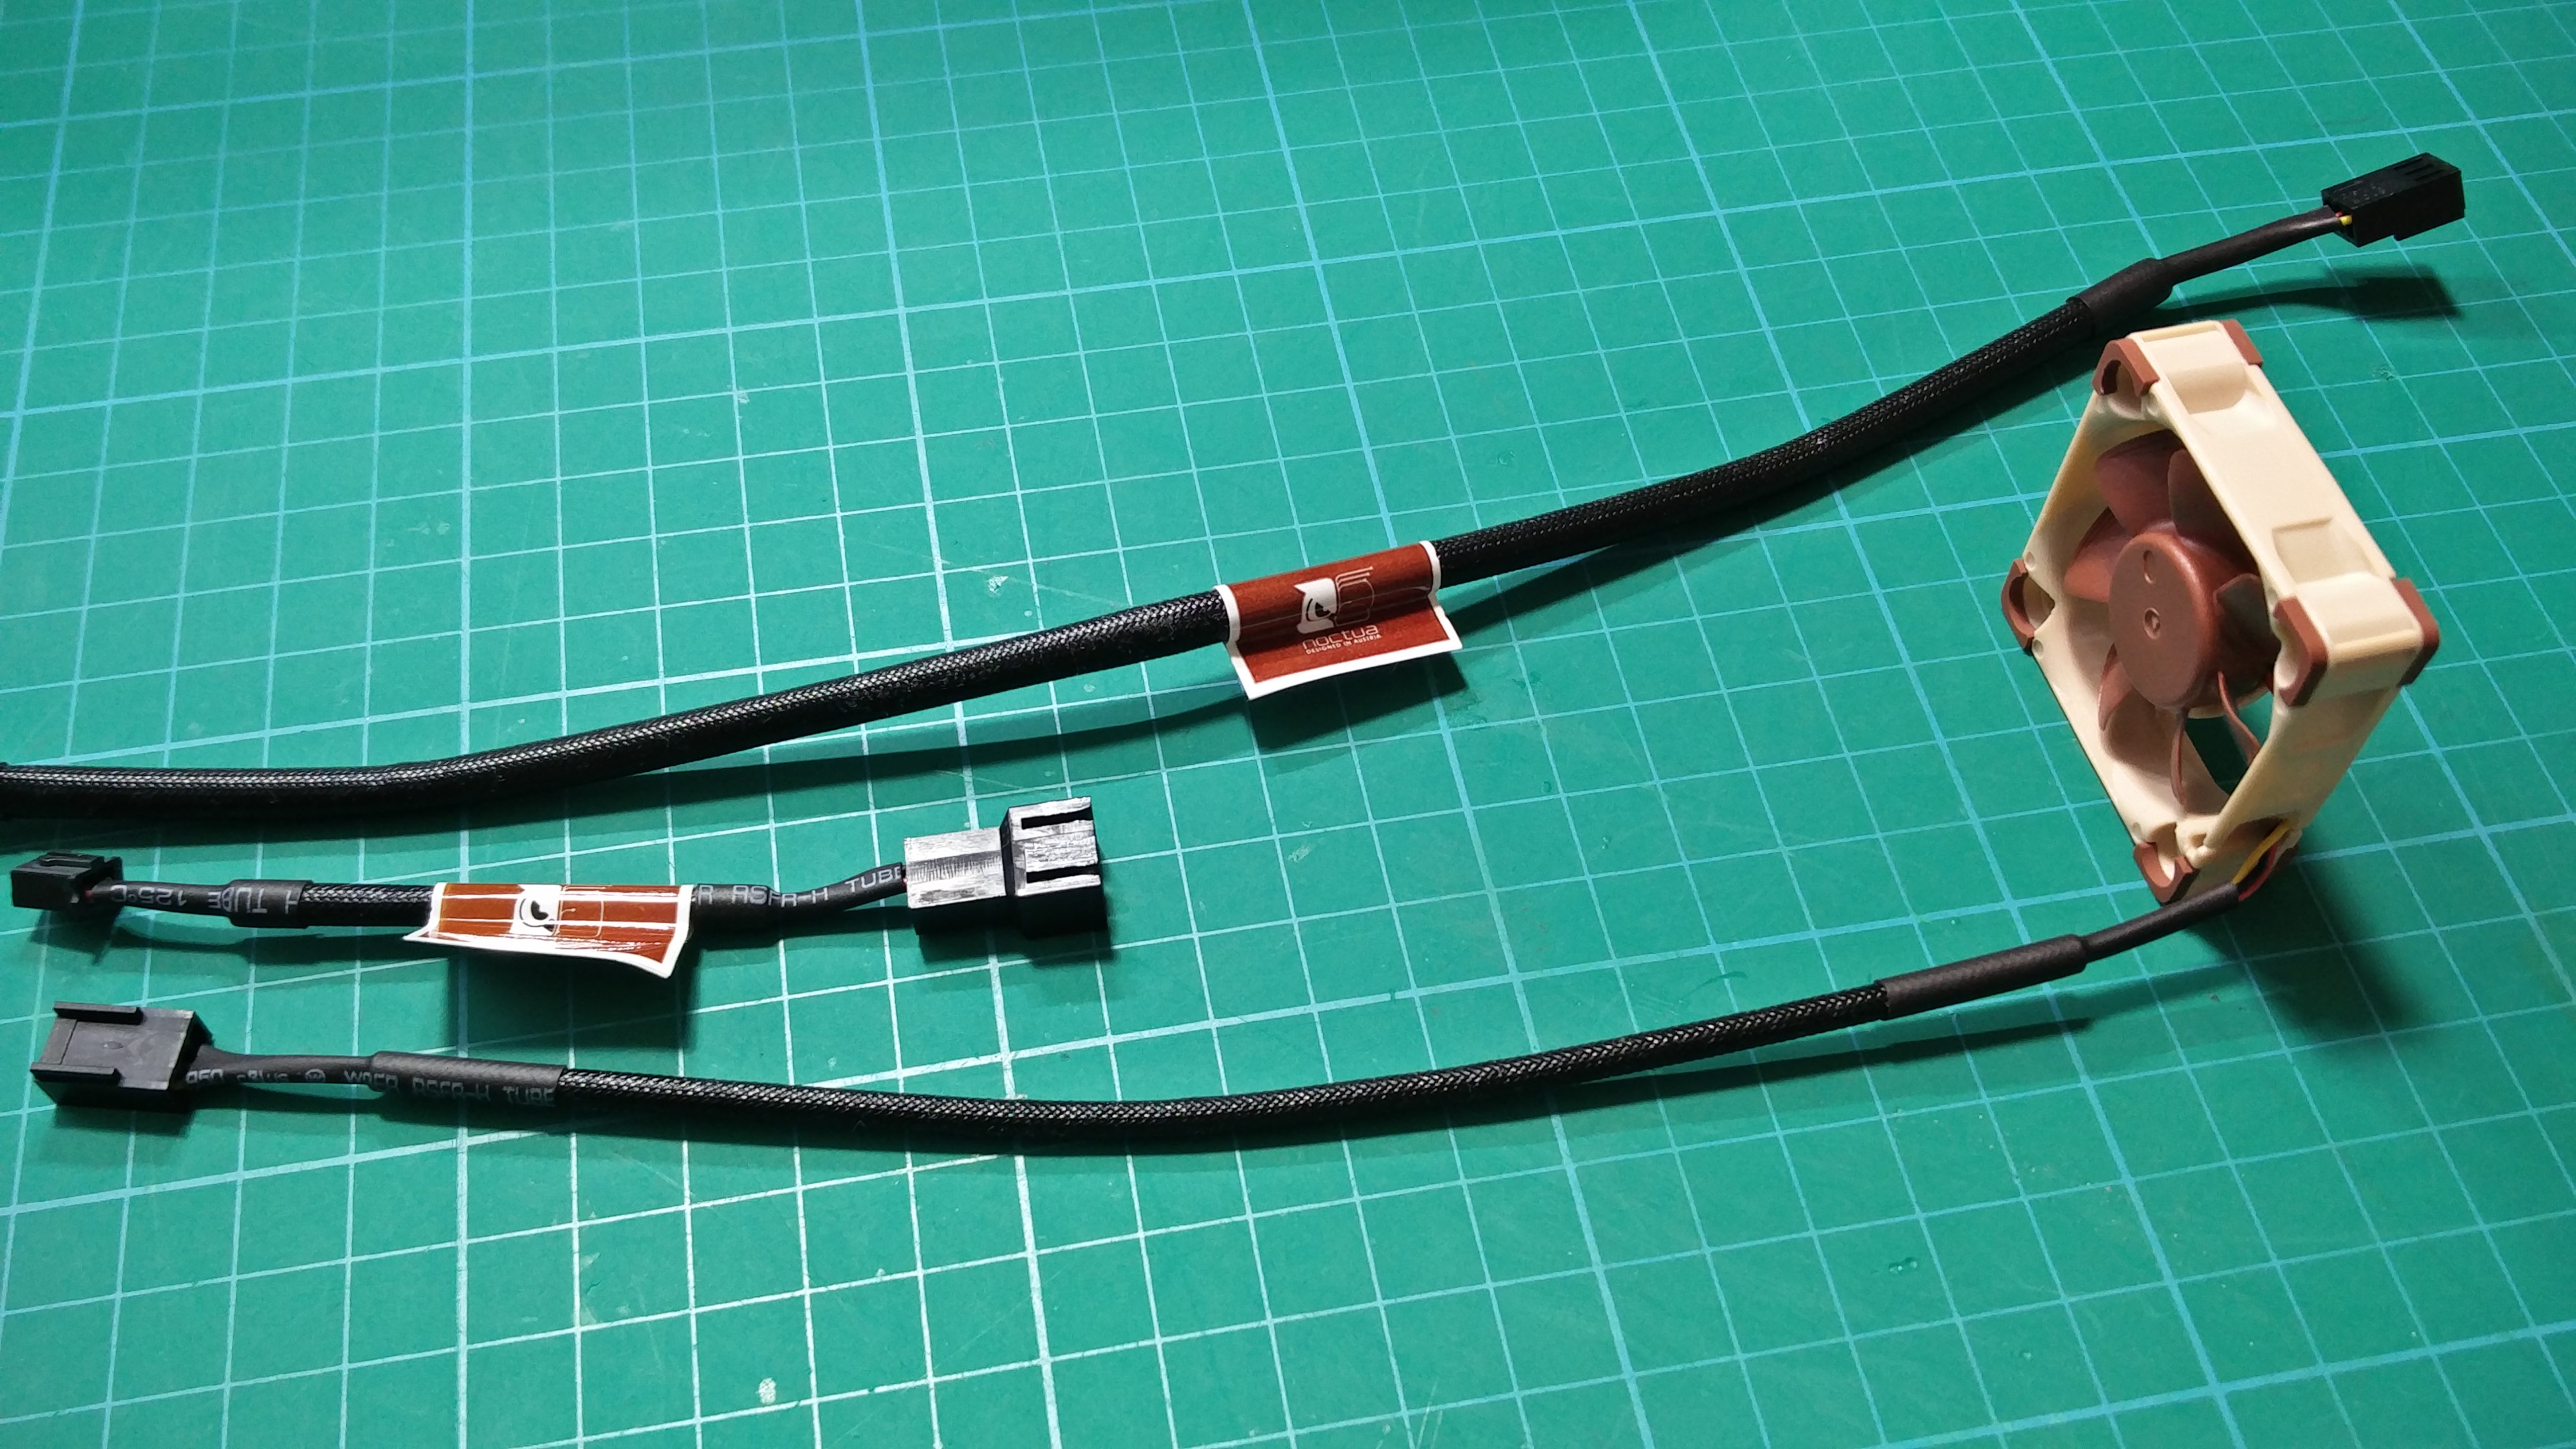
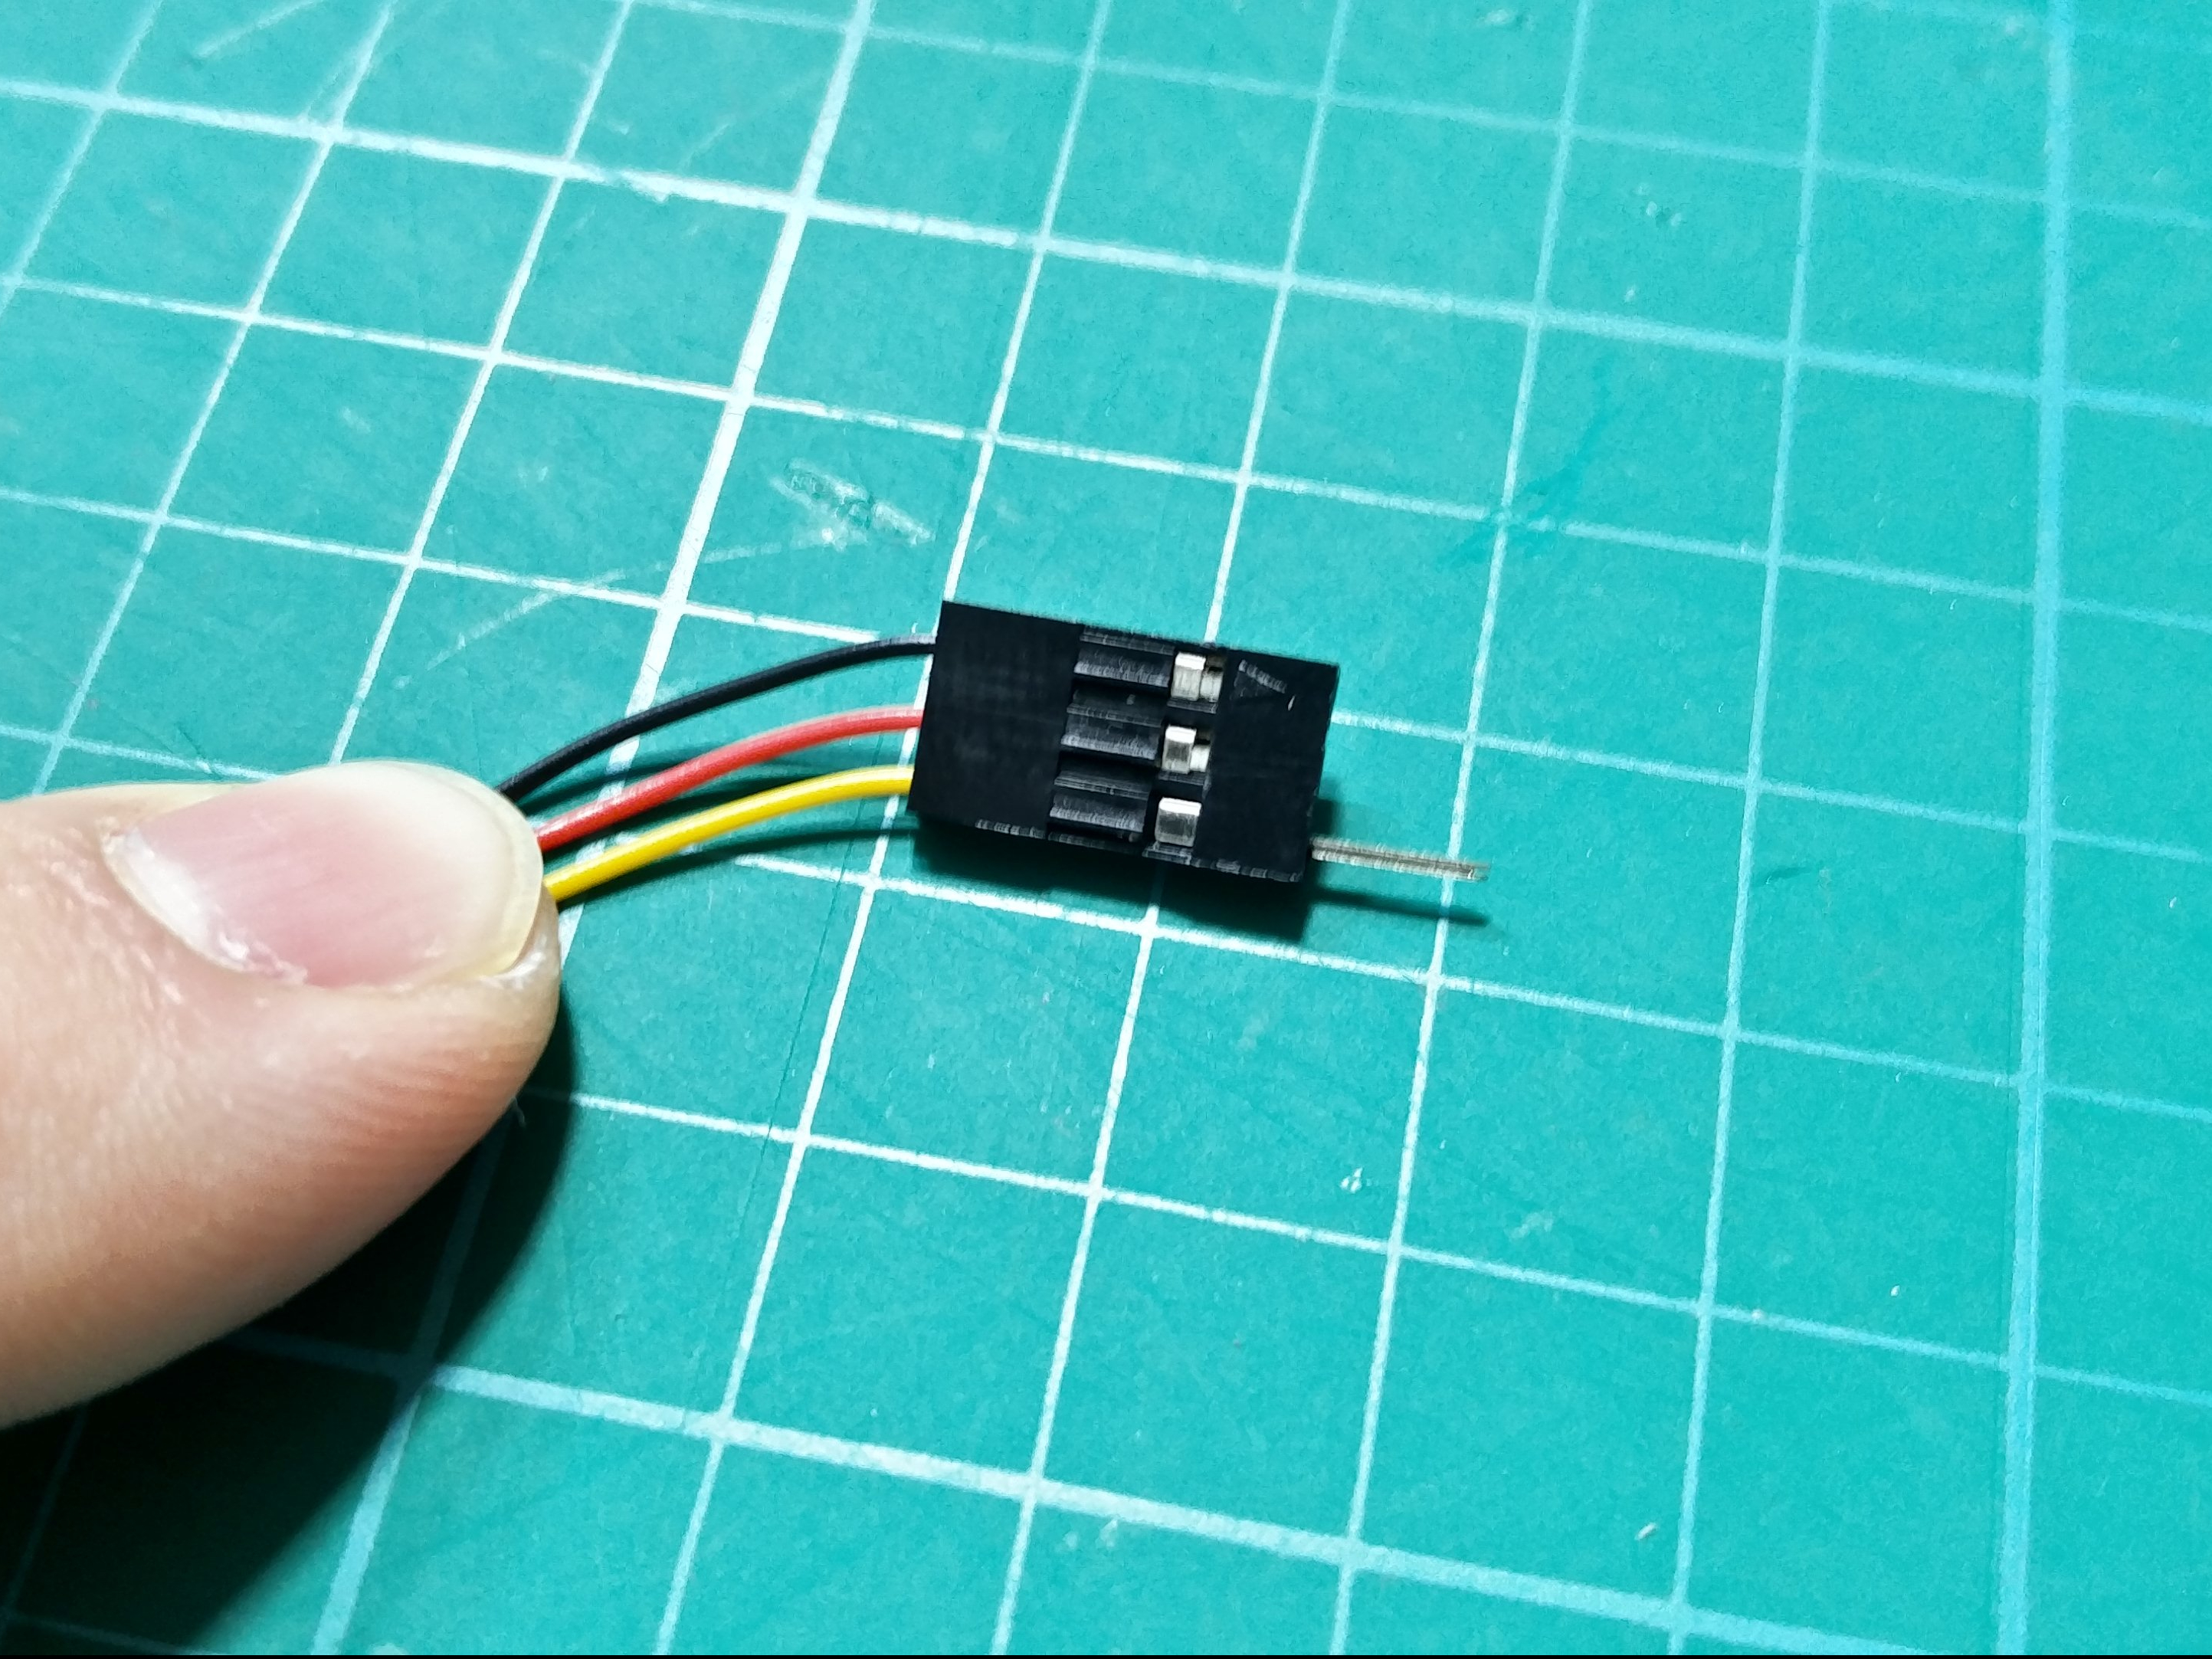
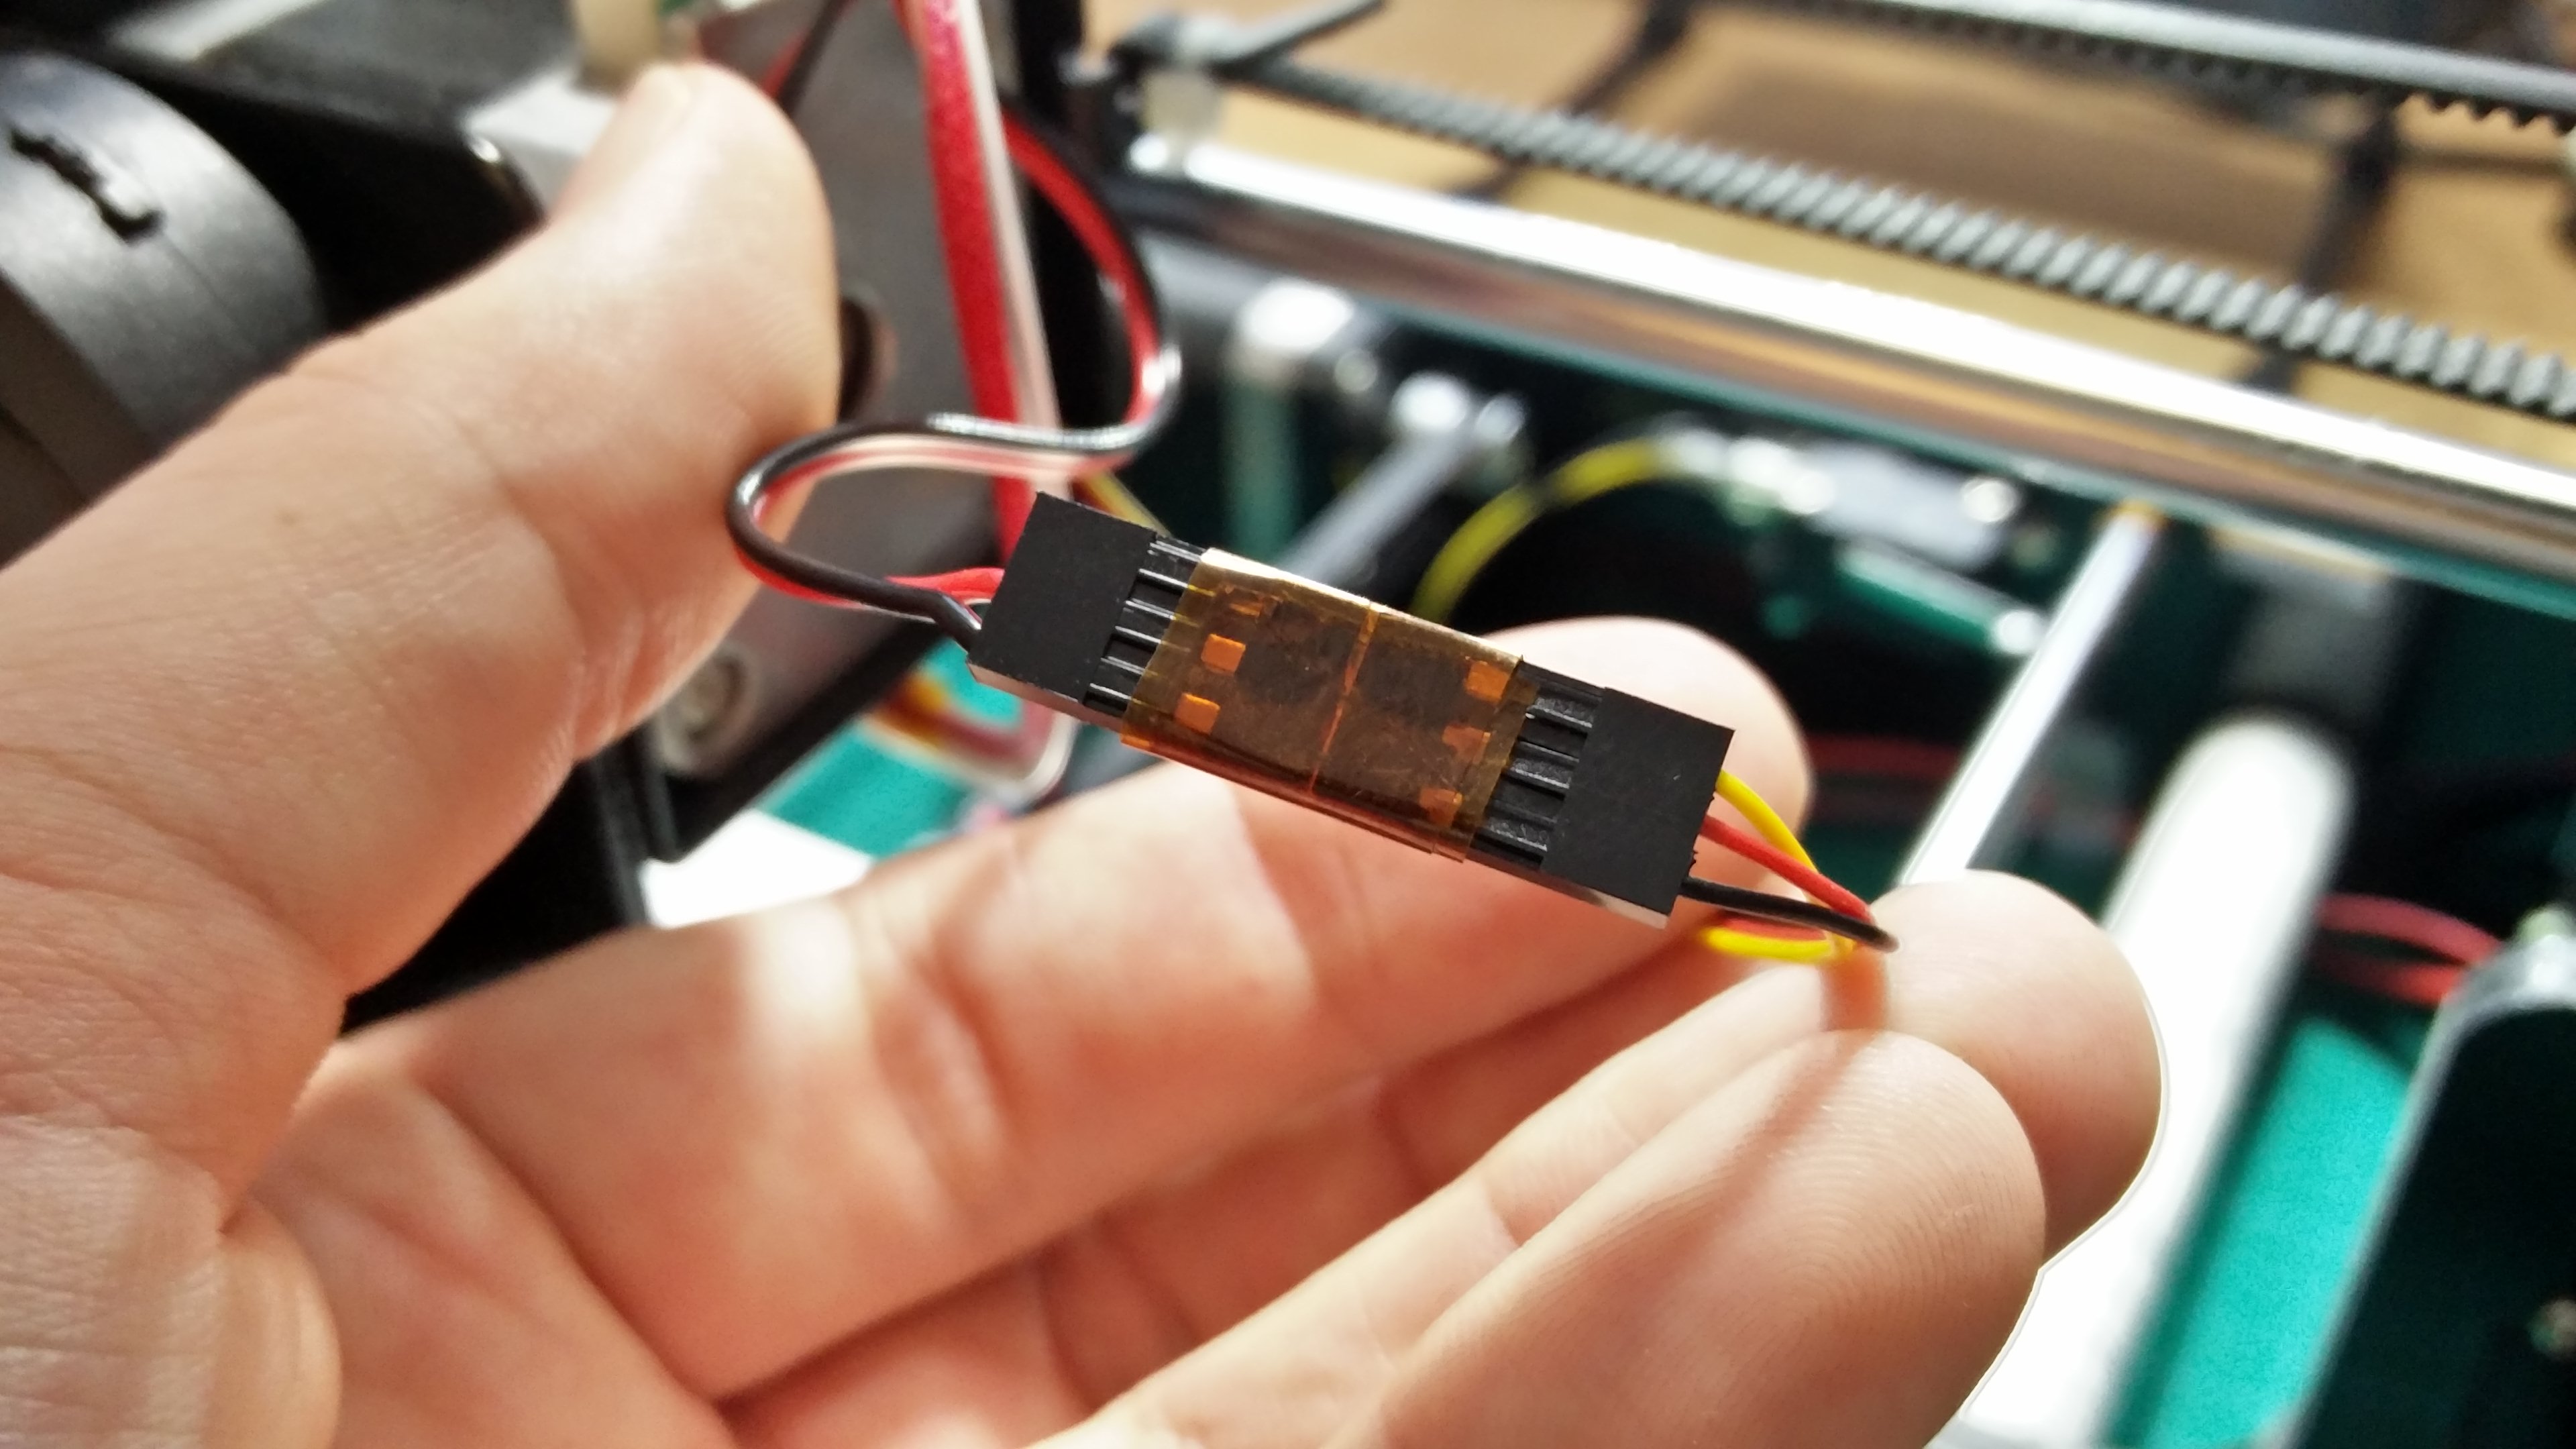
I chose the Noctua fan over a cheaper alternative in hopes that spending a bit more money will get me a long life fan and more air flow. Plus I like the look so that is worth a few extra dollars. The fan while the correct size will need some modifications to the wiring harness to connect it to the 3D printer.

Noctua NF-A4x10 40x10mm Fan

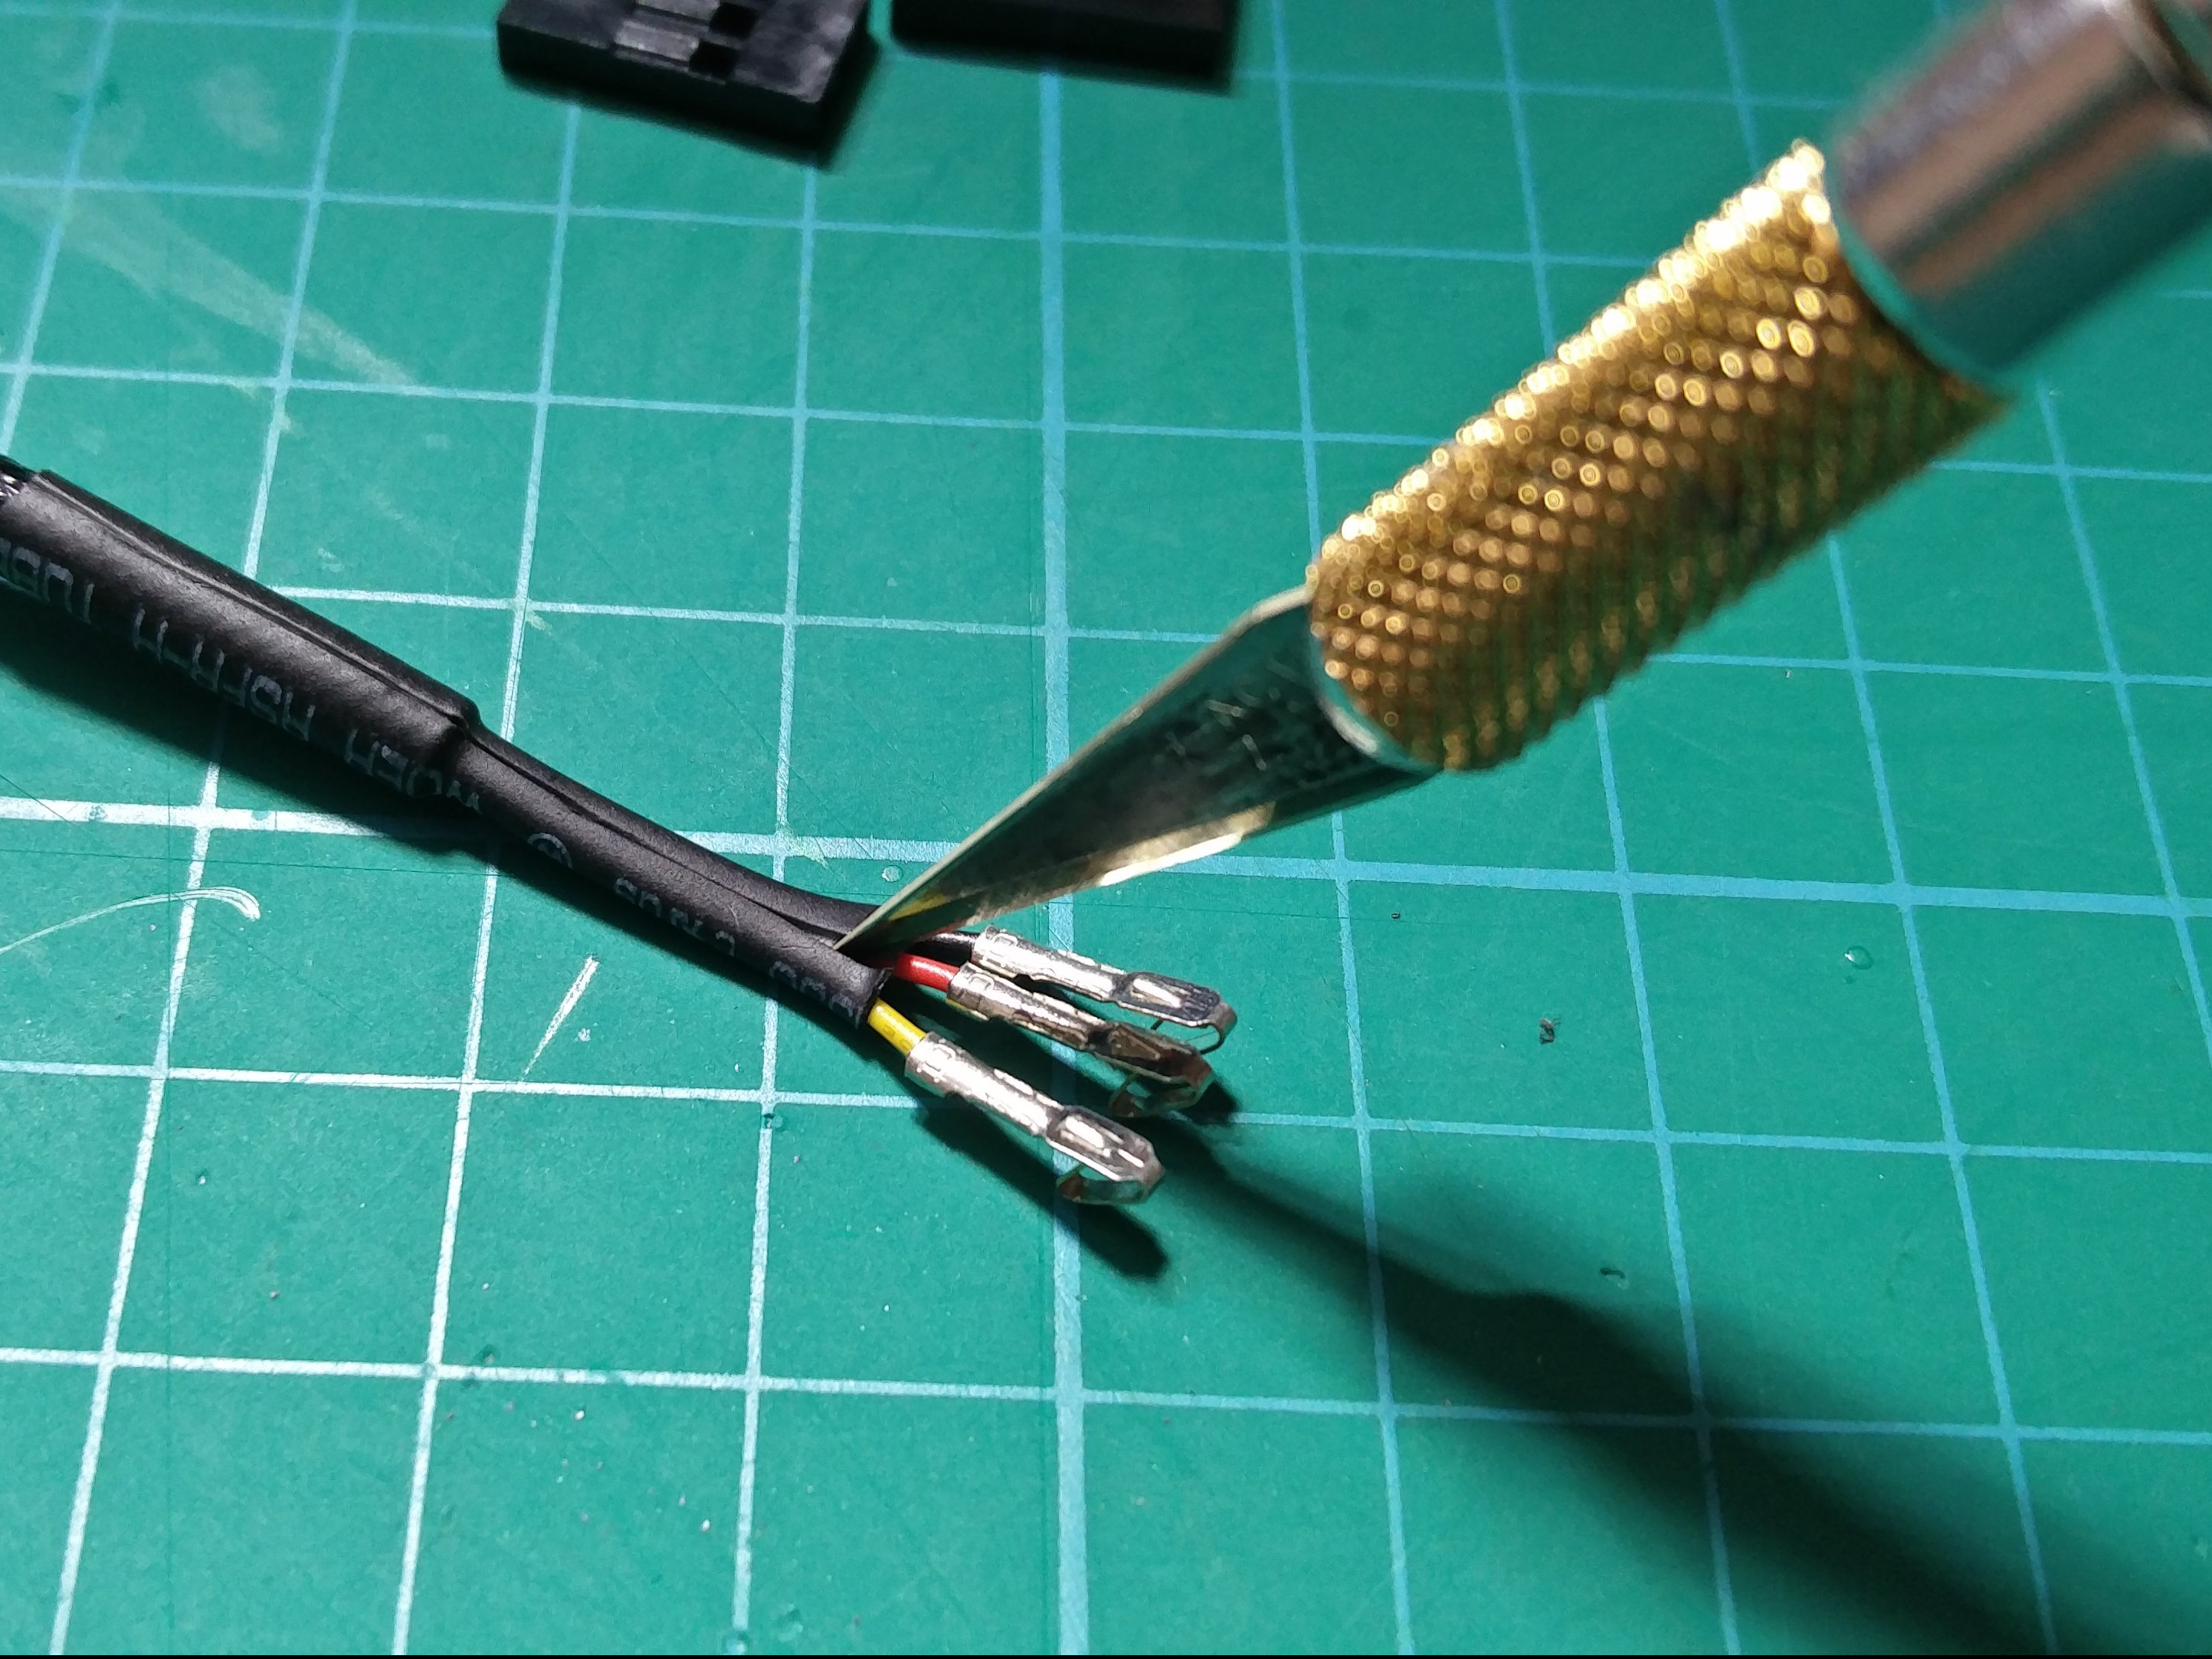
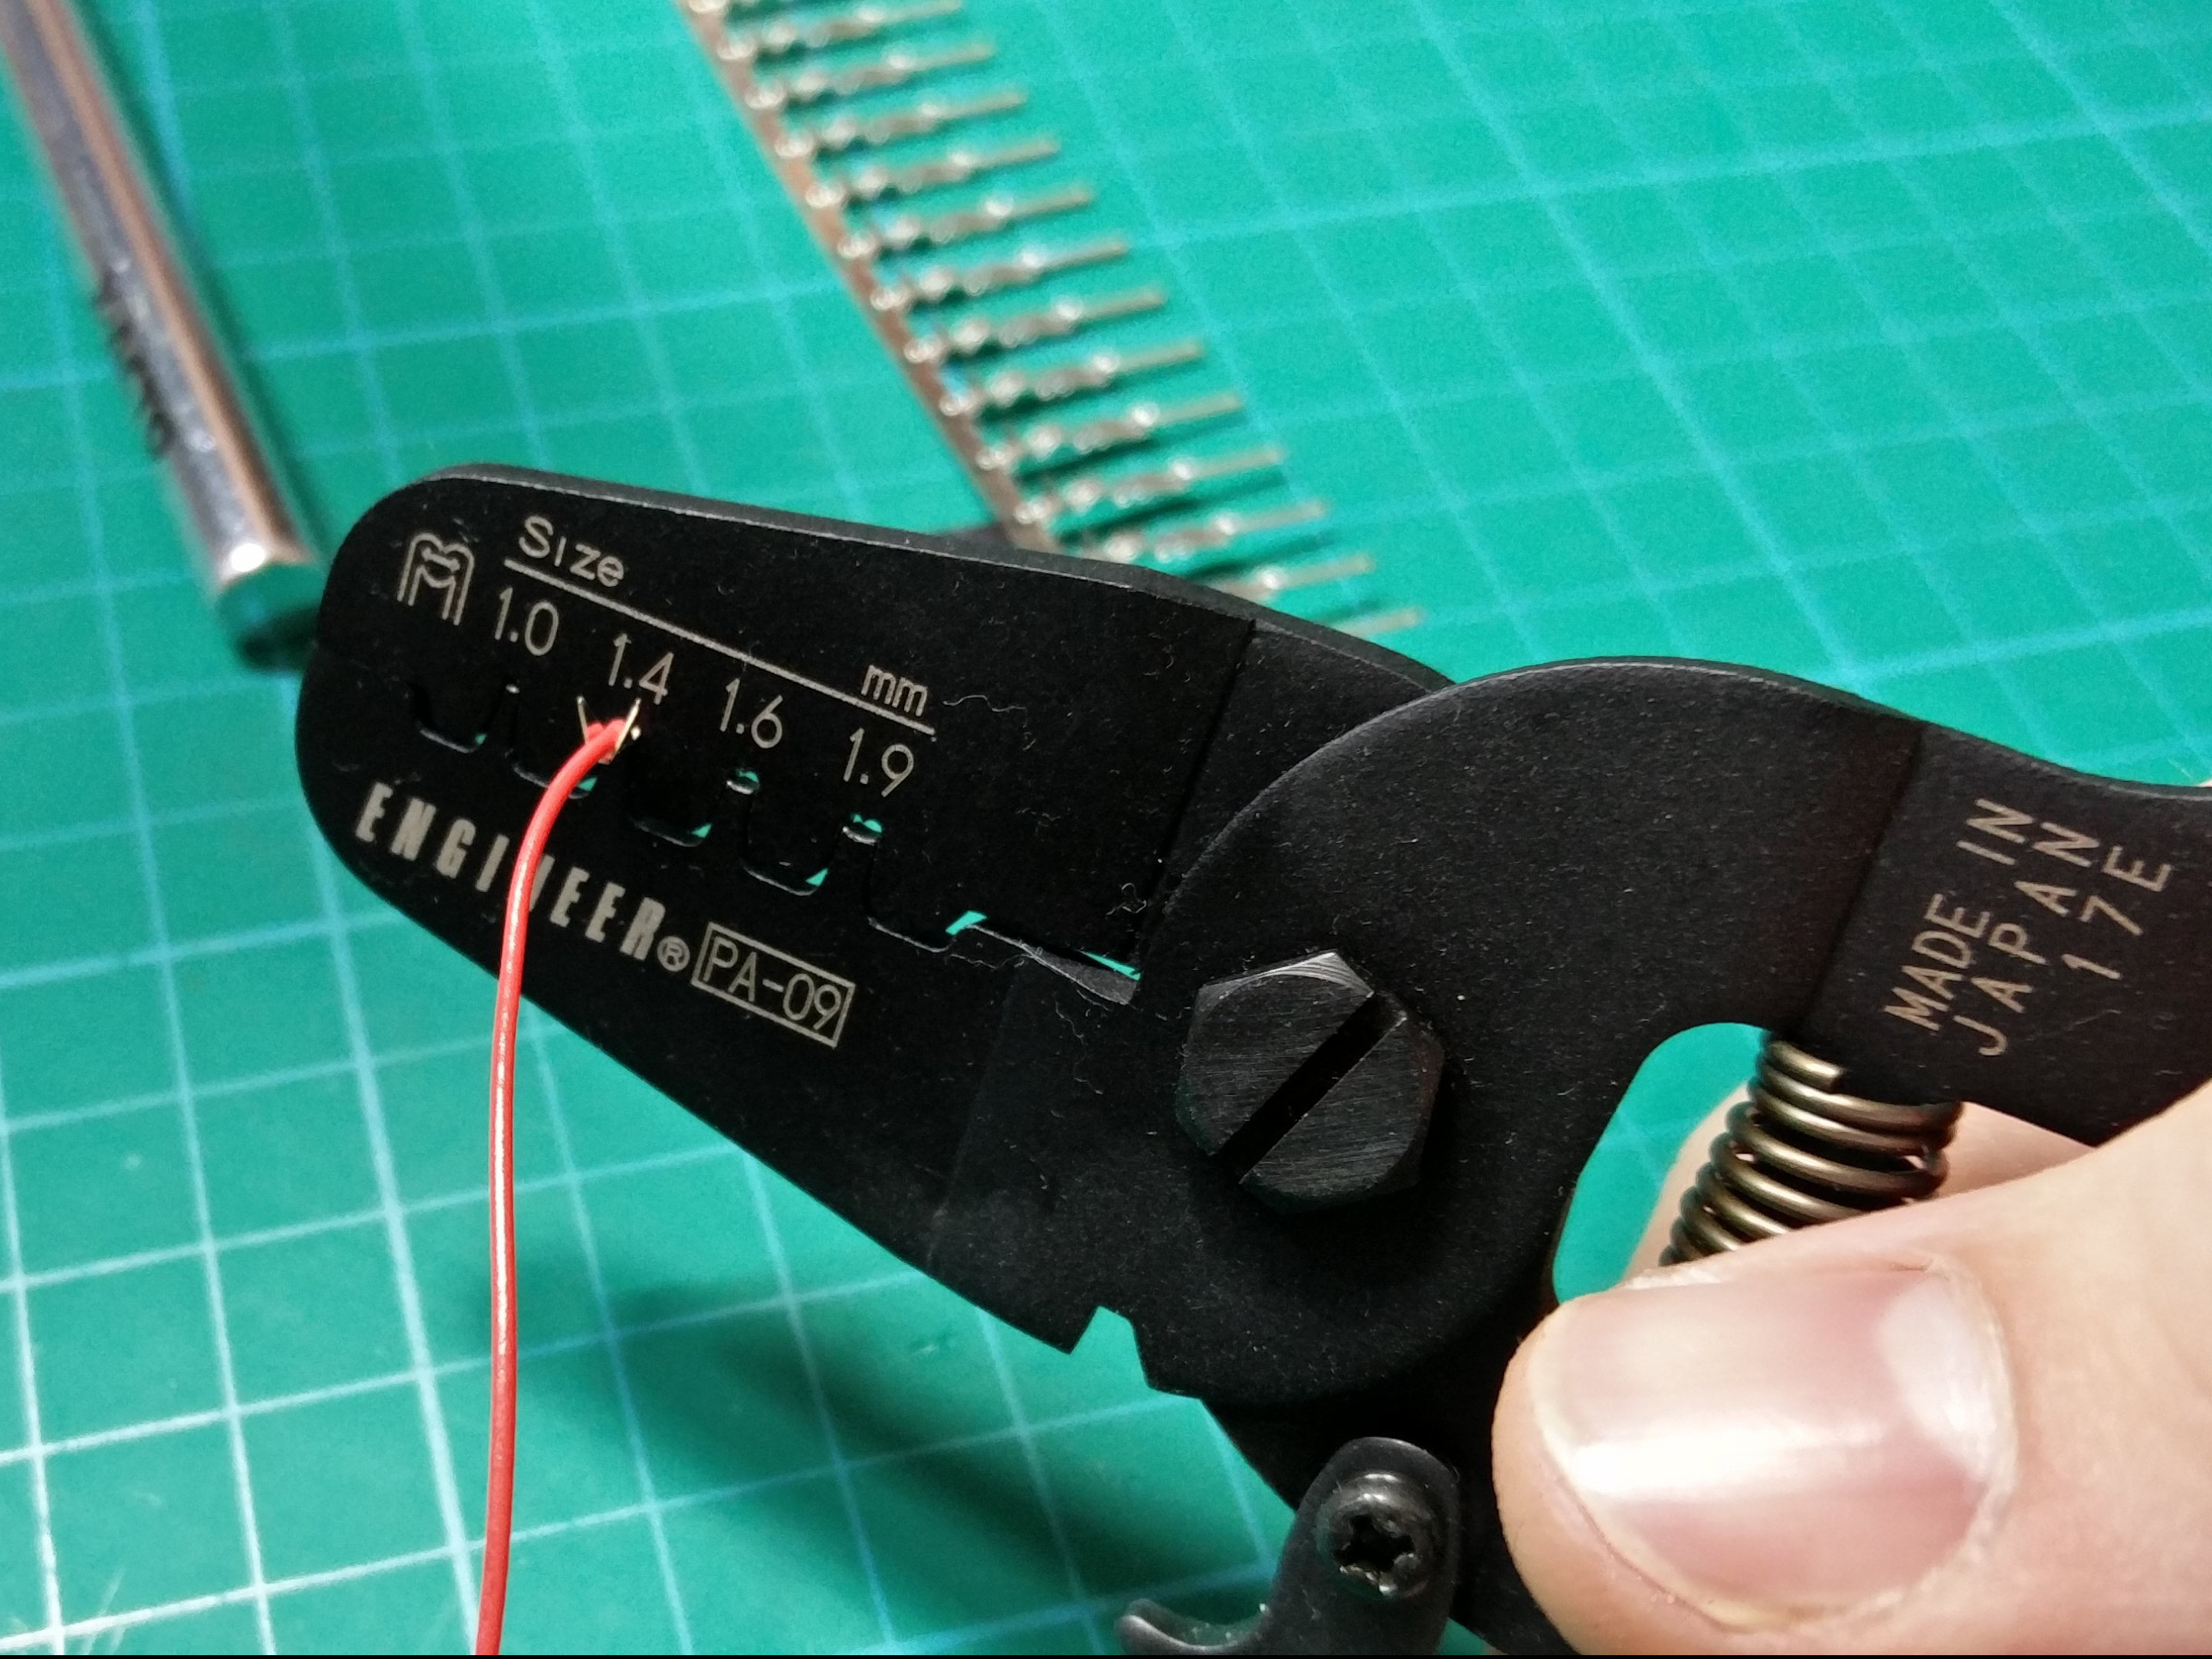
The fan comes with heavy stiff sheathing covering the wiring harness, extension, and 3 pin to 2 pin adapter. I prefer a light flexible wiring harness so I will be removing the cable sheathing. The extension is not long enough to reach the fan header so I will be crimping on a new connector to enable it to be easily plugged into the wiring harness currently on the printer.

The fan wires are covered in a stiff sheathing.
The wires from the Noctua fan is covered in heavy stiff sheathing. This will be removed to make the wiring flexible and light for easy cable management.
The only type of connector I have on hand.
The only type of connector I have on hand is the header pin and socket connector. It will work but I would have preferred a locking connector or the same type that comes installed on the fan.
Remove factory connector and sheathing.
Removed factory connector and sheathing.
Point of no return
The point of no return. Warranty void before it was even turned on.
Crimp it good and tight with a nice set of crimpers
Crimped the new connector pins to the fan wires.
Reverse polarity prevention.
Reverse polarity prevention using the unneeded yellow wire.
Remove Old Fan
Removed the old fan by cutting it from its wiring harness keeping the wires as long as possible.
Crimp the opposite connector on the 3D printer wiring harness, only power and ground are needed.
Crimped the opposite connector on the 3D printer wiring harness.
2018-03-04 11.12.26
Since the connector I had available was not a locking connector I used tape to lock the connectors together
2018-03-04 11.15.40
A little cable management and the printer is repaired.

This is a worthwhile upgrade if like me your extruder cooling fan has broken. Otherwise I doubt there will be any noticeable performance improvements. The fan is quieter so I like that, now to silence the power supply fan. Thanks for reading.

One thought on “Tronxy P802M Extrusion Fan Replacement

Leave a Reply

Fill in your details below or click an icon to log in:

WordPress.com Logo

You are commenting using your WordPress.com account. Log Out /  Change )

Twitter picture

You are commenting using your Twitter account. Log Out /  Change )

Facebook photo

You are commenting using your Facebook account. Log Out /  Change )

Connecting to %s

This site uses Akismet to reduce spam. Learn how your comment data is processed.