Psst! Looking for more? Check out the Tronxy P802M page with links to other articles about modifying and improving the Tronxy P802M 3D printer.
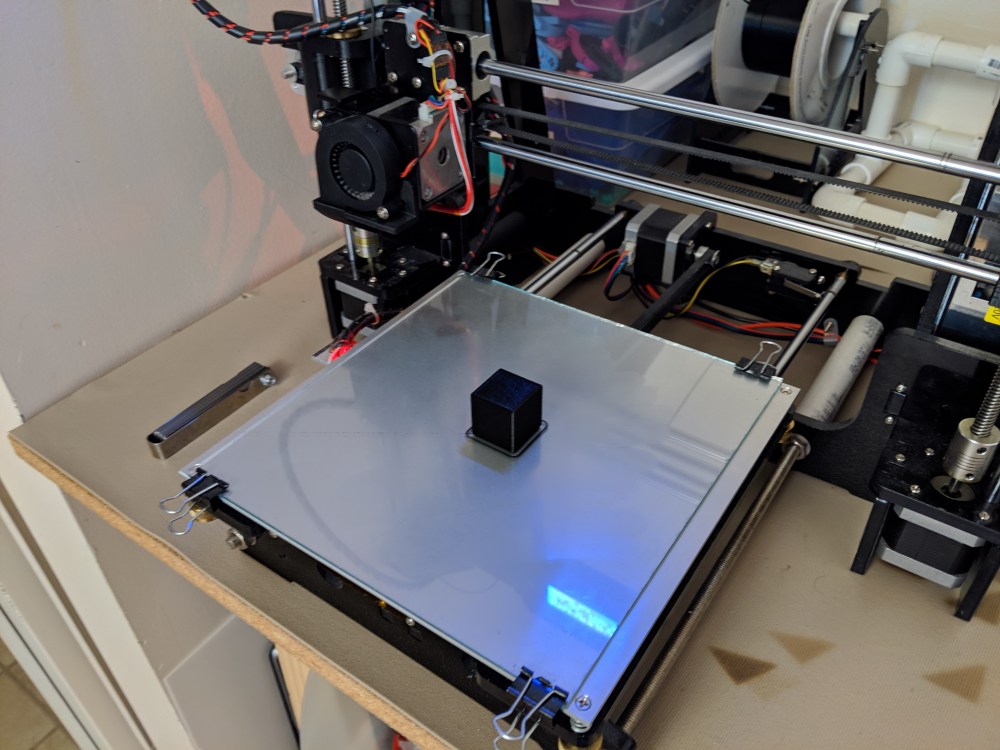
My Tronxy P802MA 3D printer started to act up so I set about replacing the hotend which I suspected as the main cause.
I picked up a set of 5 hotends from Amazon. There is nothing special about these particular hotends except that they were low cost and had not only the nozzle but also the heating block, barrel, and insulation. I also picked up a section of PTFE teflon tube and a replacement M6 nut from the local hardware store.

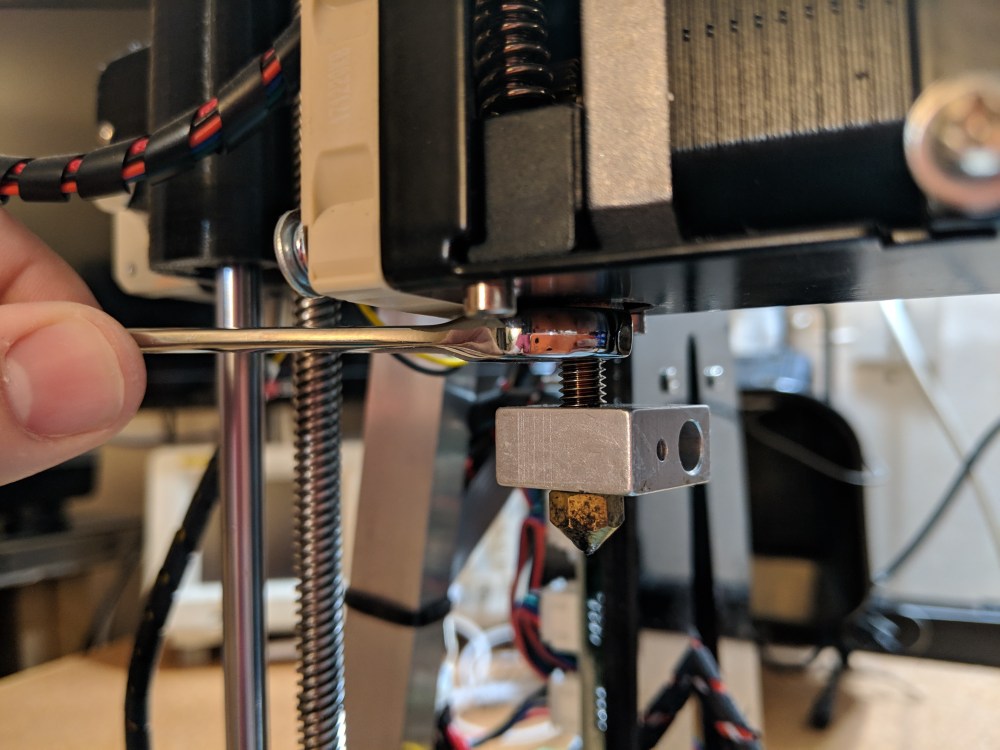
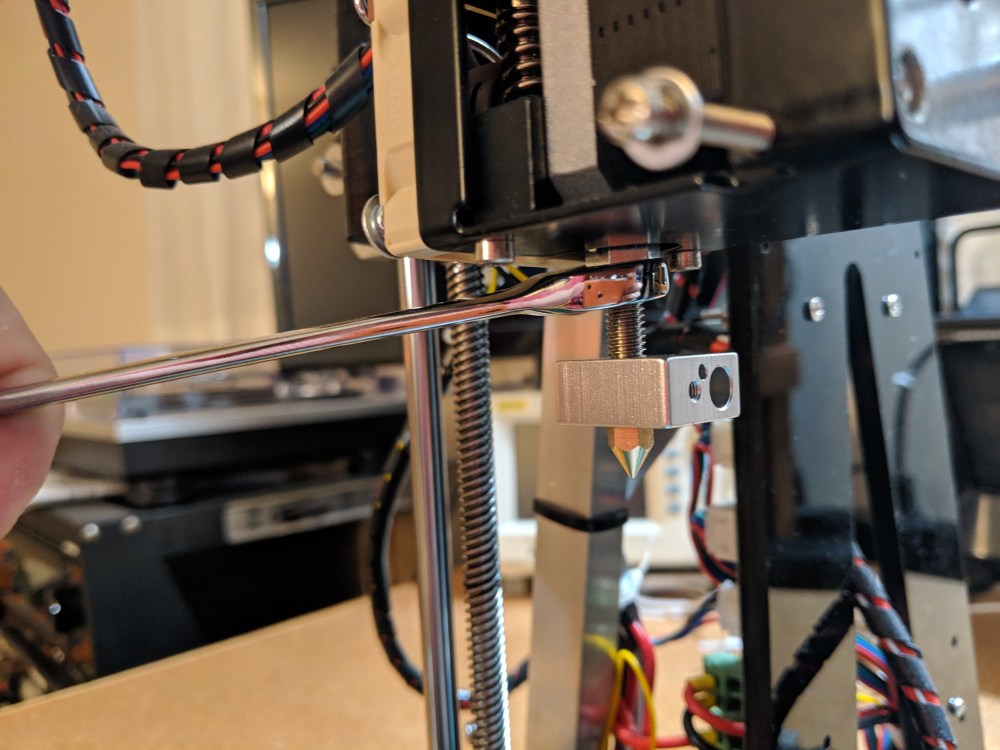
Replacing the hotend was super simple once I had all the required parts. First I removed the layer cooling fan followed by all the old insulating tape around the hotend. Then I loosed the set screw holding in the heater cartridge, the heater cartridge and thermistor came out as one piece. Next using a M10 wrench I loosened the nut that locks the barrel to the extruder. The hotend is then removed from the extruder.

While not necessary I further disassembled the hotend to discover that the nozzle had developed a buildup of burnt plastic preventing proper flow and that the PTFE tube had become discolored.
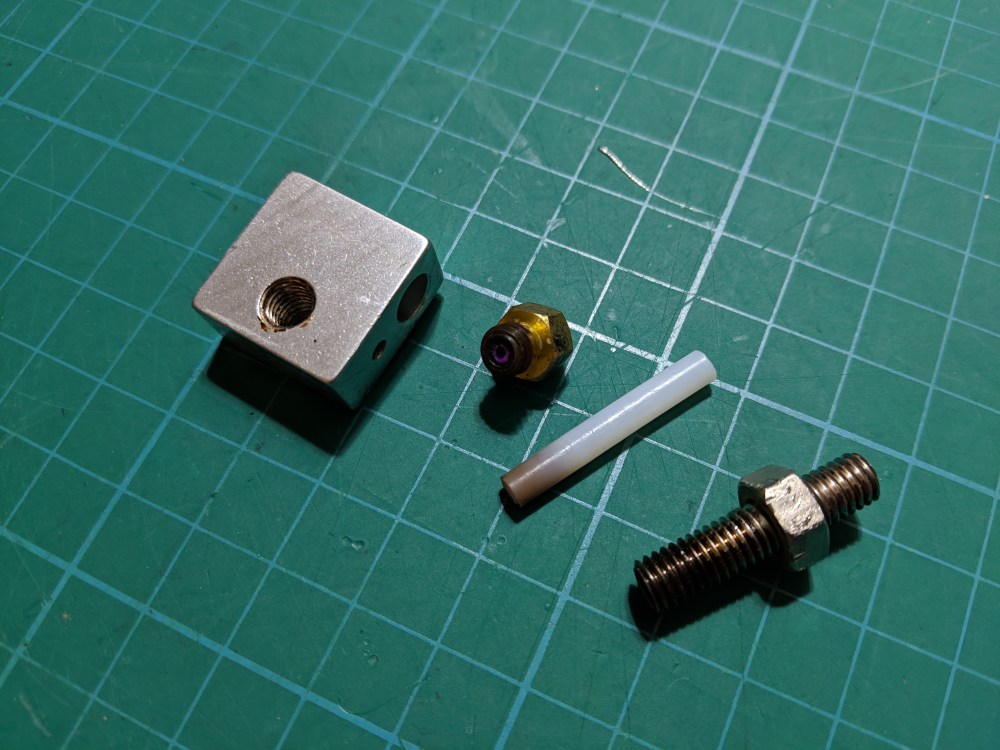
To assemble the new hotend I started with the barrel and PTFE tubing. I cut a small section off the PTFE tubing to square it up since the factory cut was slightly angled. I then inserted the PTFE tubing into the barrel and cut it flush slightly proud with the end of the barrel.


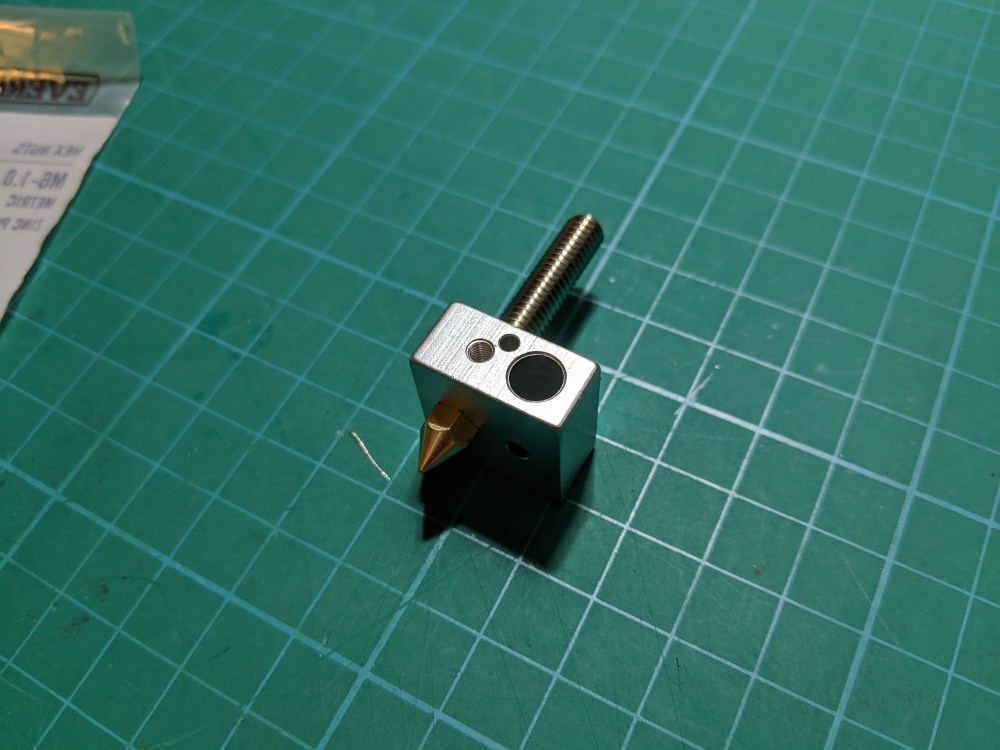
I then finger tightened the nozzle into the heater block. The barrel is installed in the opposite side of the header block with the cut end of the PTFE tube against away from the nozzle.
At this point I trimmed and cut the insulation using the hotend as a template.

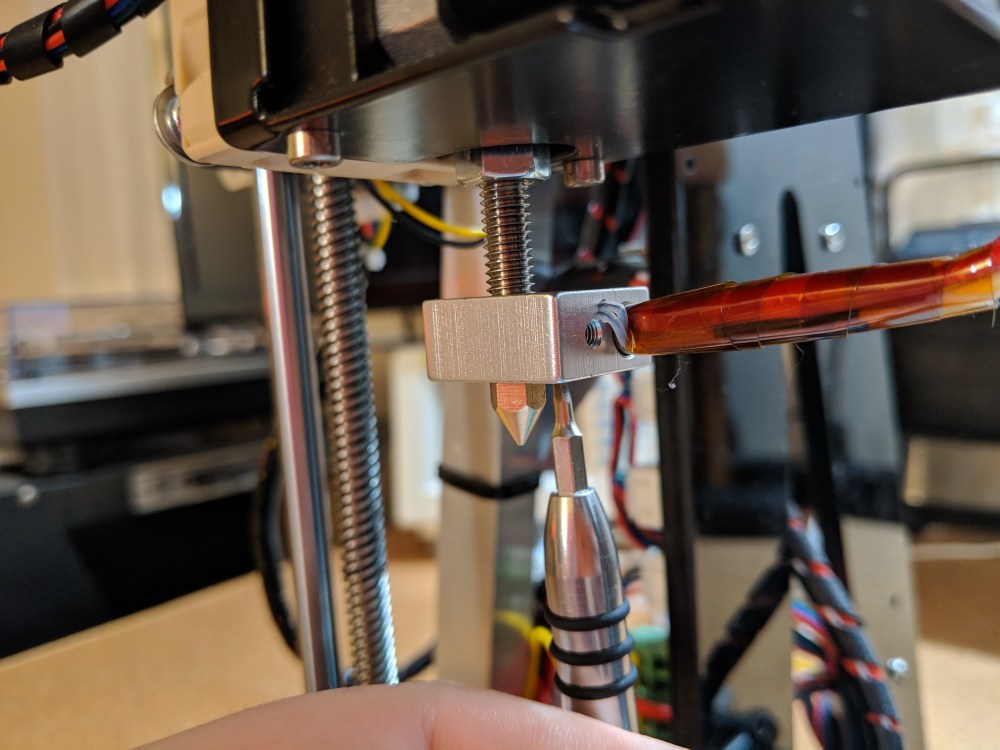
Now it was time to reinstall it on the extruder. I first threaded the M6 lock nut onto the barrel and then threaded the barrel onto the extruder. To tighten the barrel into the heater block I locked the barrel to the extruder using the lock nut and then tighten the heater block with my hand unit it would not tighten anymore. Then I loosed the lock nut and turned the barrel into the extruder until it bottomed out and backed it up so that the holes for the heater cartridge and thermistor were facing to the right.
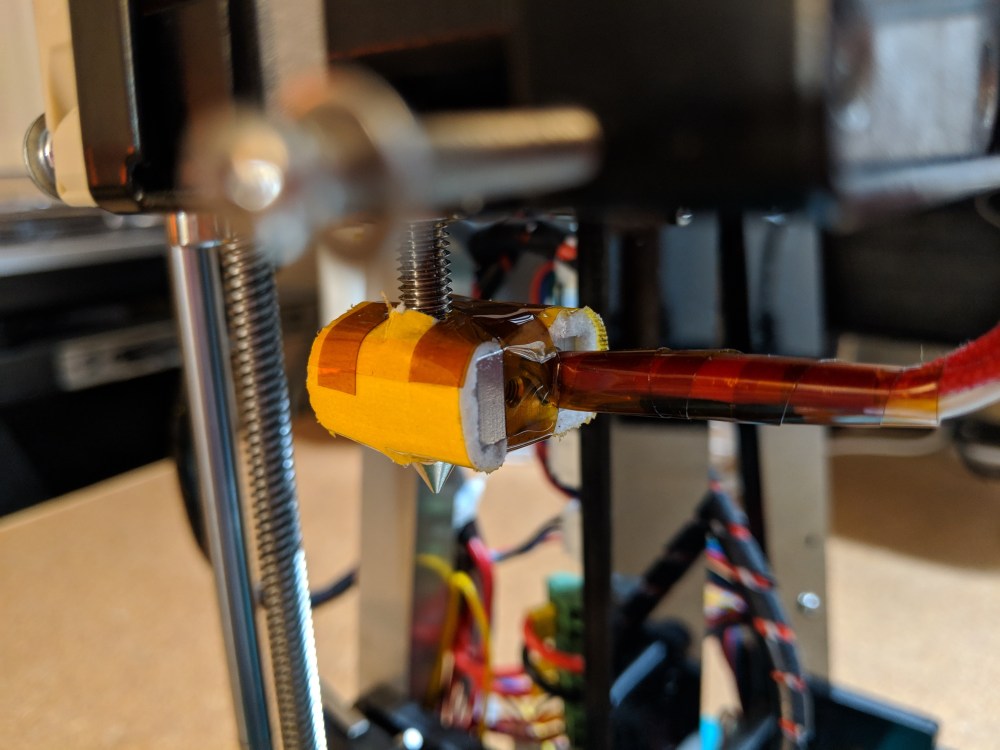
I reinstalled the heater cartridge and thermistor before wrapping the hotend in insulation. I used a few strips of Kapton tape to tape the insulation together and to help hold the thermistor in the hole.
A quick test print later and I had my 3D printer back up and running, ready to print for another 980 hours.