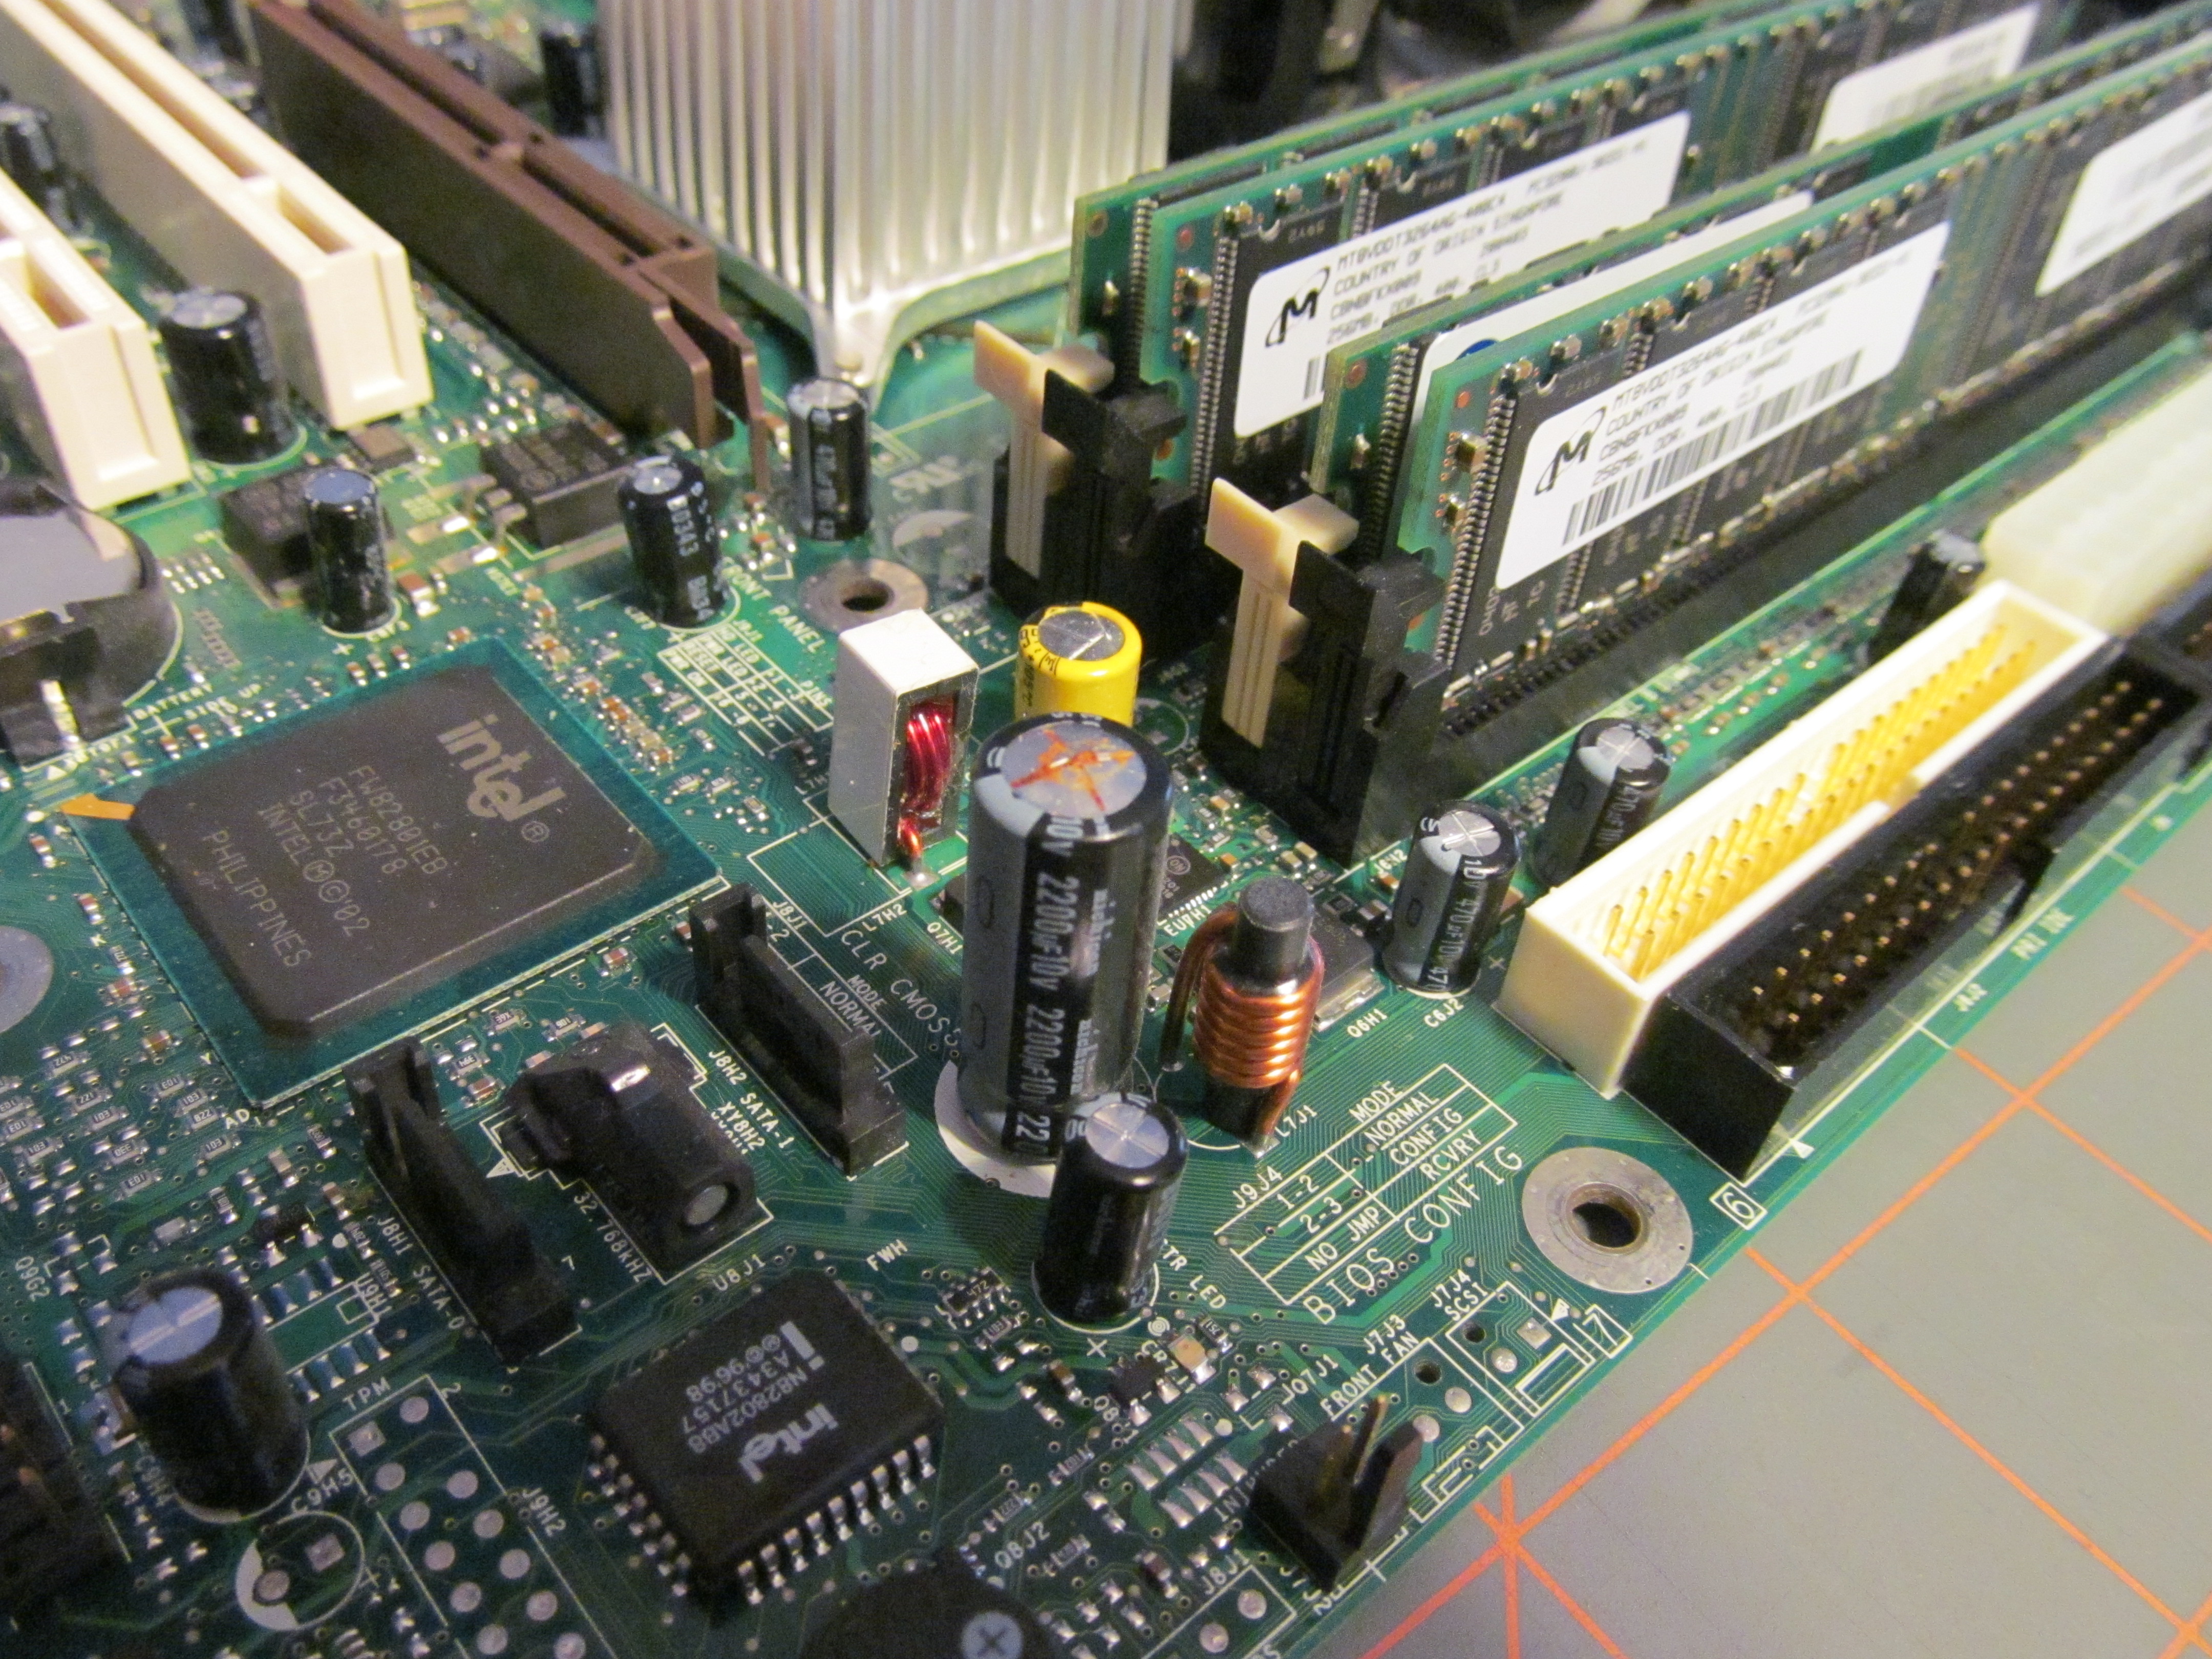
I discovered while cleaning up an old Pentium 4 Gateway PC that one of the electrolytic capacitors on the motherboard had gone bad. I could tell it had gone bad since the aluminum can was puffed up and the top vent was opened,the capacitor had heated up and vented a majority of its electrolytic. The computer was still functional with the bad capacitor but I decided to fix it anyways just in case.
To remove the old capacitor I will need to heat it up to loosen the solder and then pull it off the board. My favorite and best tool for this kind of repair is the Hakko 808 Desoldering Iron. Not only will it heat up the solder but the built in pump will then pull the solder away from the joint to enable easy removal of the capacitor. Motherboards can be tricky since they contain multiple copper layers, sometimes there might be large internal power or ground planes which sink a lot of heat and require a little bit of patience.
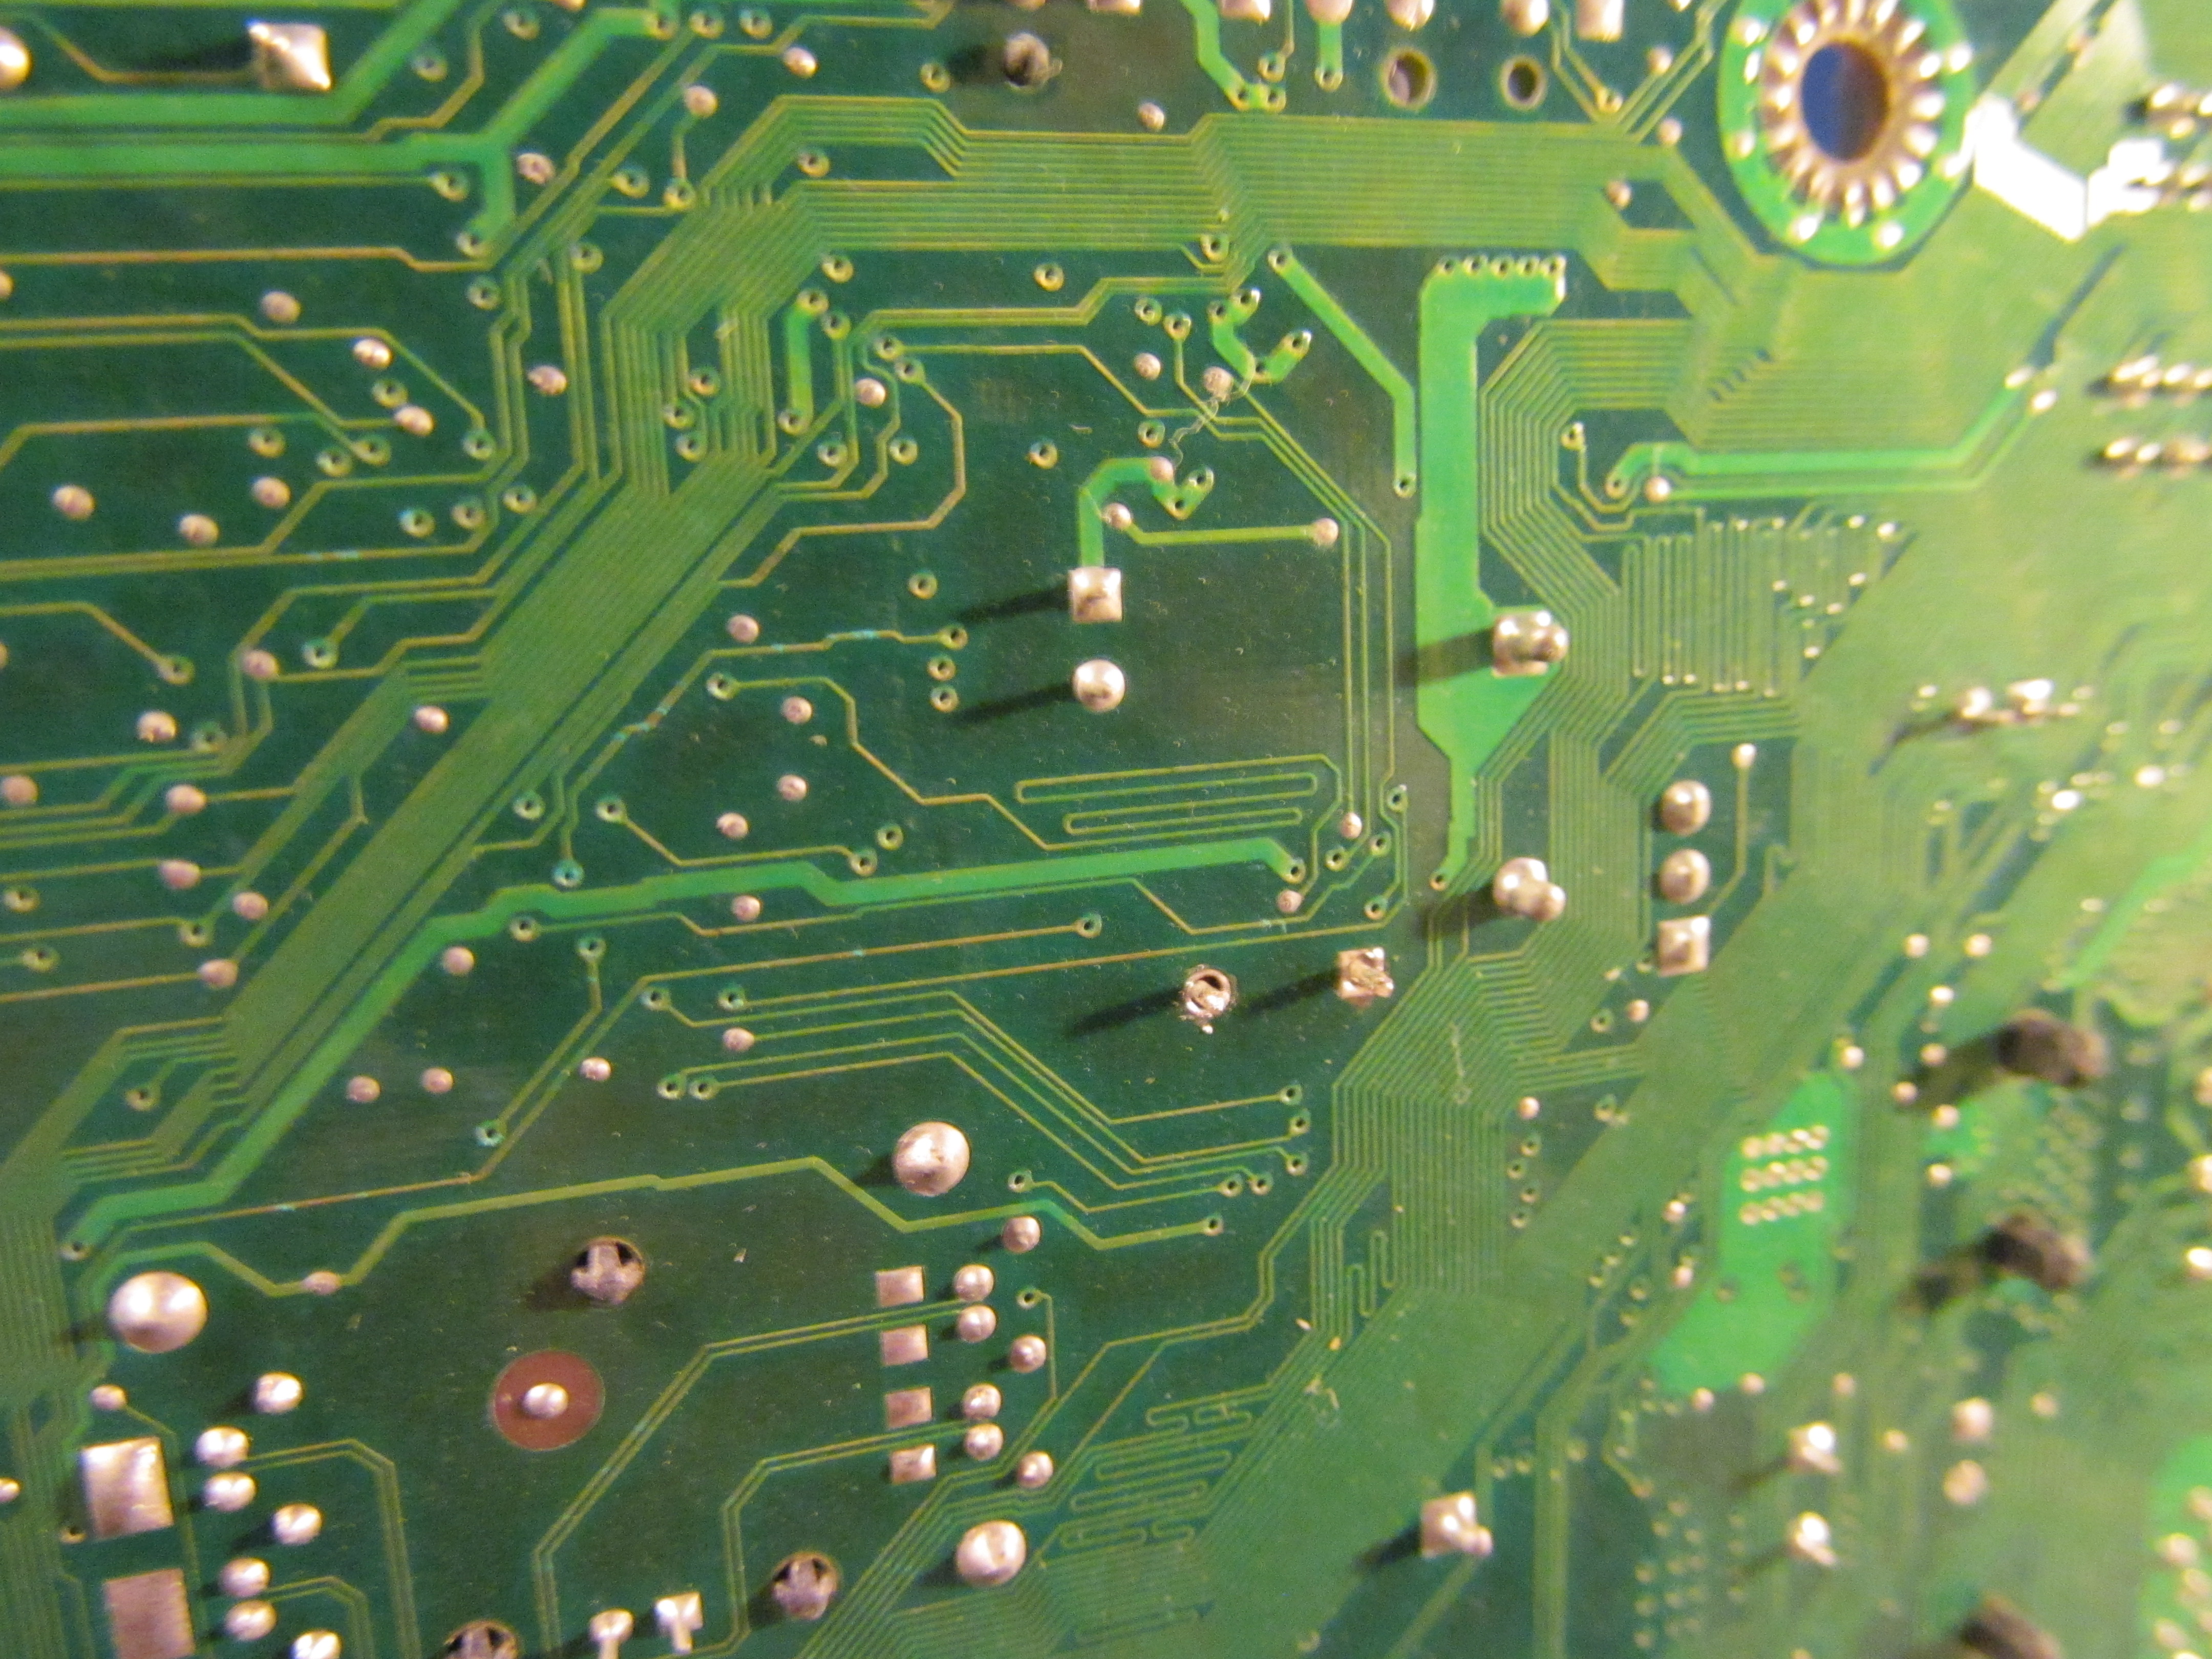
I located the solder joints for the capacitor on the back side and applied heat. After waiting a few seconds the molten solder was easily removed. It is important to be careful when pulling the capacitor out, even though the solder join appeared to be loosened the capacitor’s pins might still be connected. Pulling this too hard might damage the pads which makes this repair harder. I was lucky, the ground connection was completely loose and I used a soldering iron to heat up the positive pin while I pulled out the capacitor.
|
|
|
|


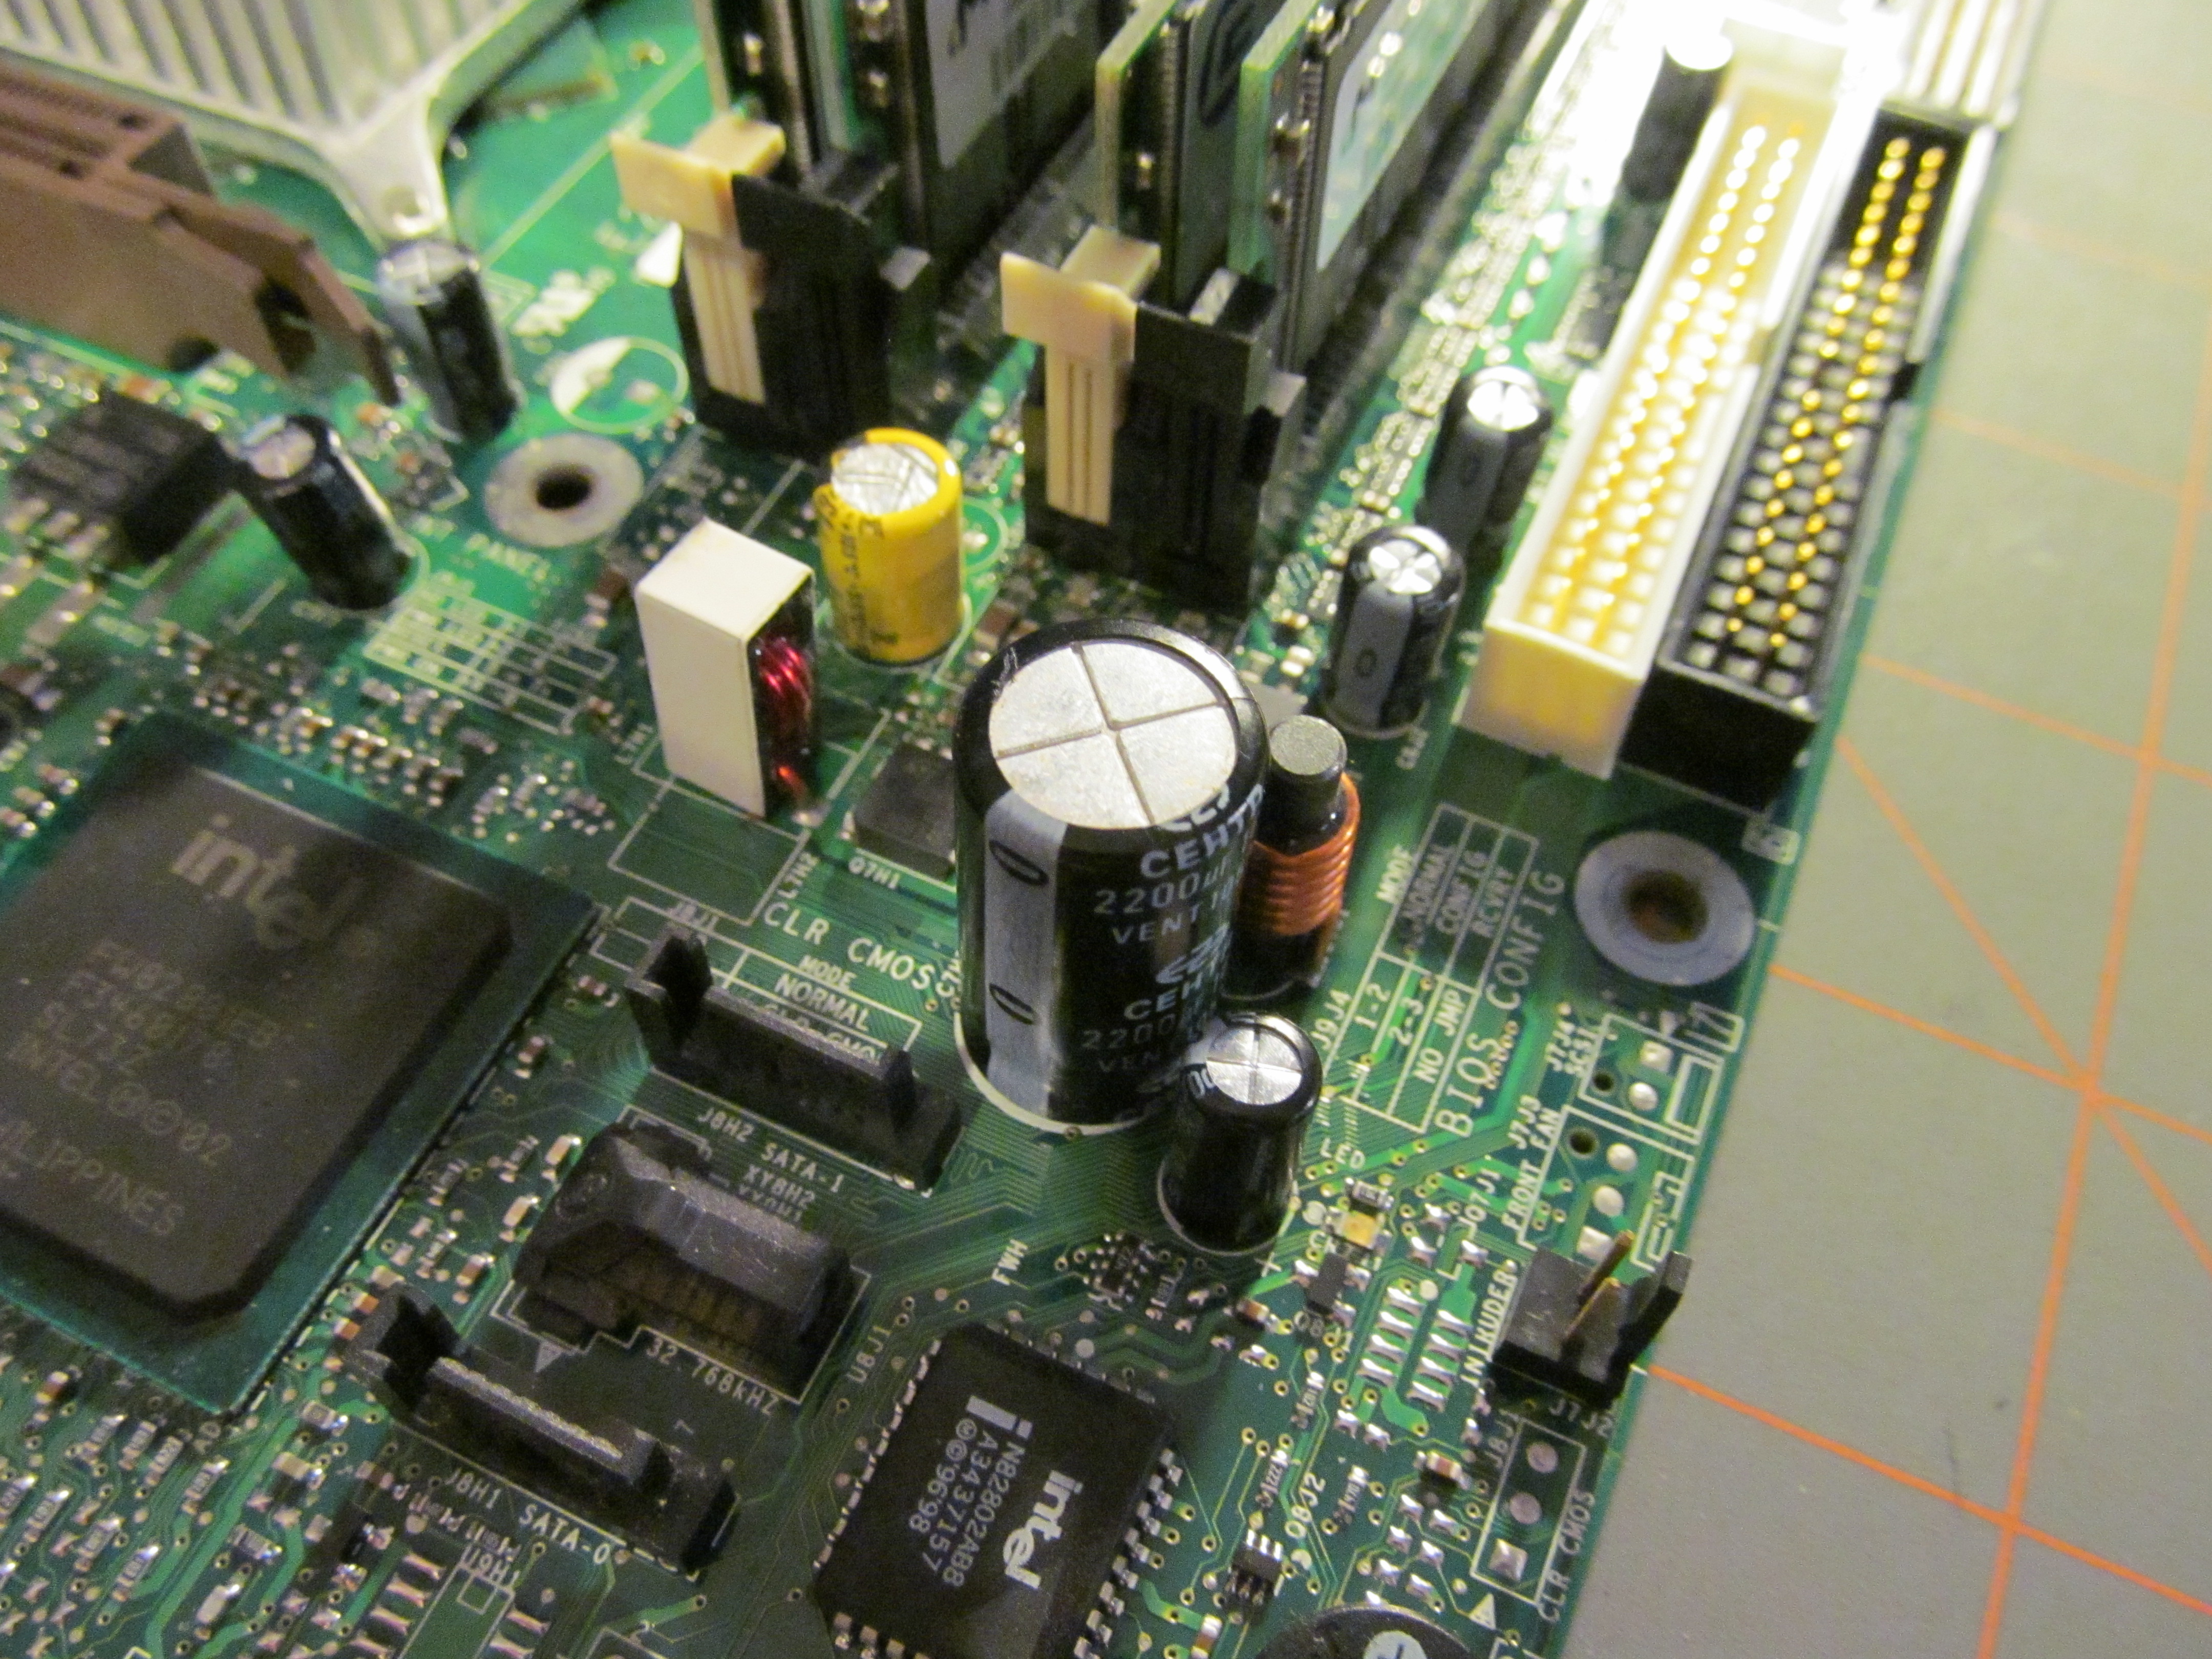
Now I need to replace this capacitor with a similar value. I have a plastic box with a few capacitors that I have pulled. The capacitor I was replacing was 2200uF 10V. The important number to match is the 2200uF. The voltage, while important, does not need to be exact. I just need to make sure my replacement capacitor will have a minimum voltage rating of 10V. I found a decent looking 2200uF 16V capacitor. Now the easy part, place it on the PCB; be mindful of polarity. The PCB designer was nice enough to provide polarity markings for this and, as far as I can tell, all the capacitors on the motherboard. I applied solder and done. It took about 10 minutes to repair with a majority of time waiting for the desoldering iron to heat up.
I don’t have the rest of the PC with me right now so I will have to test it at a later time but I’ll be sure to update this post.
